This One Time I Did Some Stuff with Some Dirt
What can I possibly say about this build log? If you're into reading about this, you must be at least as nerdy as I am, which is a lot. Basically this revolves around some dirt I bought, what I did to process the dirt, and what I ended up using it for. Whoopty freaking doo. Well, it was kind of fascinating to me, and my father-in-law thought it was cool too.
Motivation
So I'm super into aquarium plants, and after moving out of our tiny apartment to a basement suite where I could have my big tank again, I was stoked to get back into planted aquaria in a big way. If you've ever looked at the cost of commercially available substrate for planted tanks, you know that it is pricey. Mineralized topsoil to the rescue! For the price of some bulk topsoil and a little prep time, you can build a substrate that plants love, and very importantly, will not result in ammonia spikes, which can be a danger if there is lots of organic material in a dirted tank.
Much has been written about mineralized topsoil in aquariums, so I'll try not to repeat too much information. However, I am very satisified with the results of this method, and I did want to share my experiences with it. A comprehensive breakdown of the process can be found at Aquatic Plant Central. This process is based on the academic work of soil scientist Sean Murphy.
As a brief summary, topsoil is mineralized by encouraging aerobic bacterial action on it by soaking it, draining off the organic rich water, and letting it dry gradually with lots of surface area. Some of the important reasons to do this are:
- Removing twigs, bits of root, and other organic elements that could cause an ammonia spike if burried in your aquarium substrate
- Letting oxidation and bacterial action reduce organic compounds into mineralized compounds that plants can immediately use
- Keeping those mineralized compounds in a form that is available to your plants' roots, not to the algae in the water column
- 45 Gallon long tank
- Really cool Current USA Satellite Plus Pro LED lighting fixture. Blew a big portion of my tax return on it, but worth it!
- DIY pop bottle CO2 injection. I have two bottles on their own ladder diffusers to keep the levels fairly constant. When one wans, the other is going strong while it gets recharged.
- Mineralized topsoil substrate (obviously) with quartz gravel and flourite gravel cap on top. A lot of the gravel used was actaully screened out of the soil.
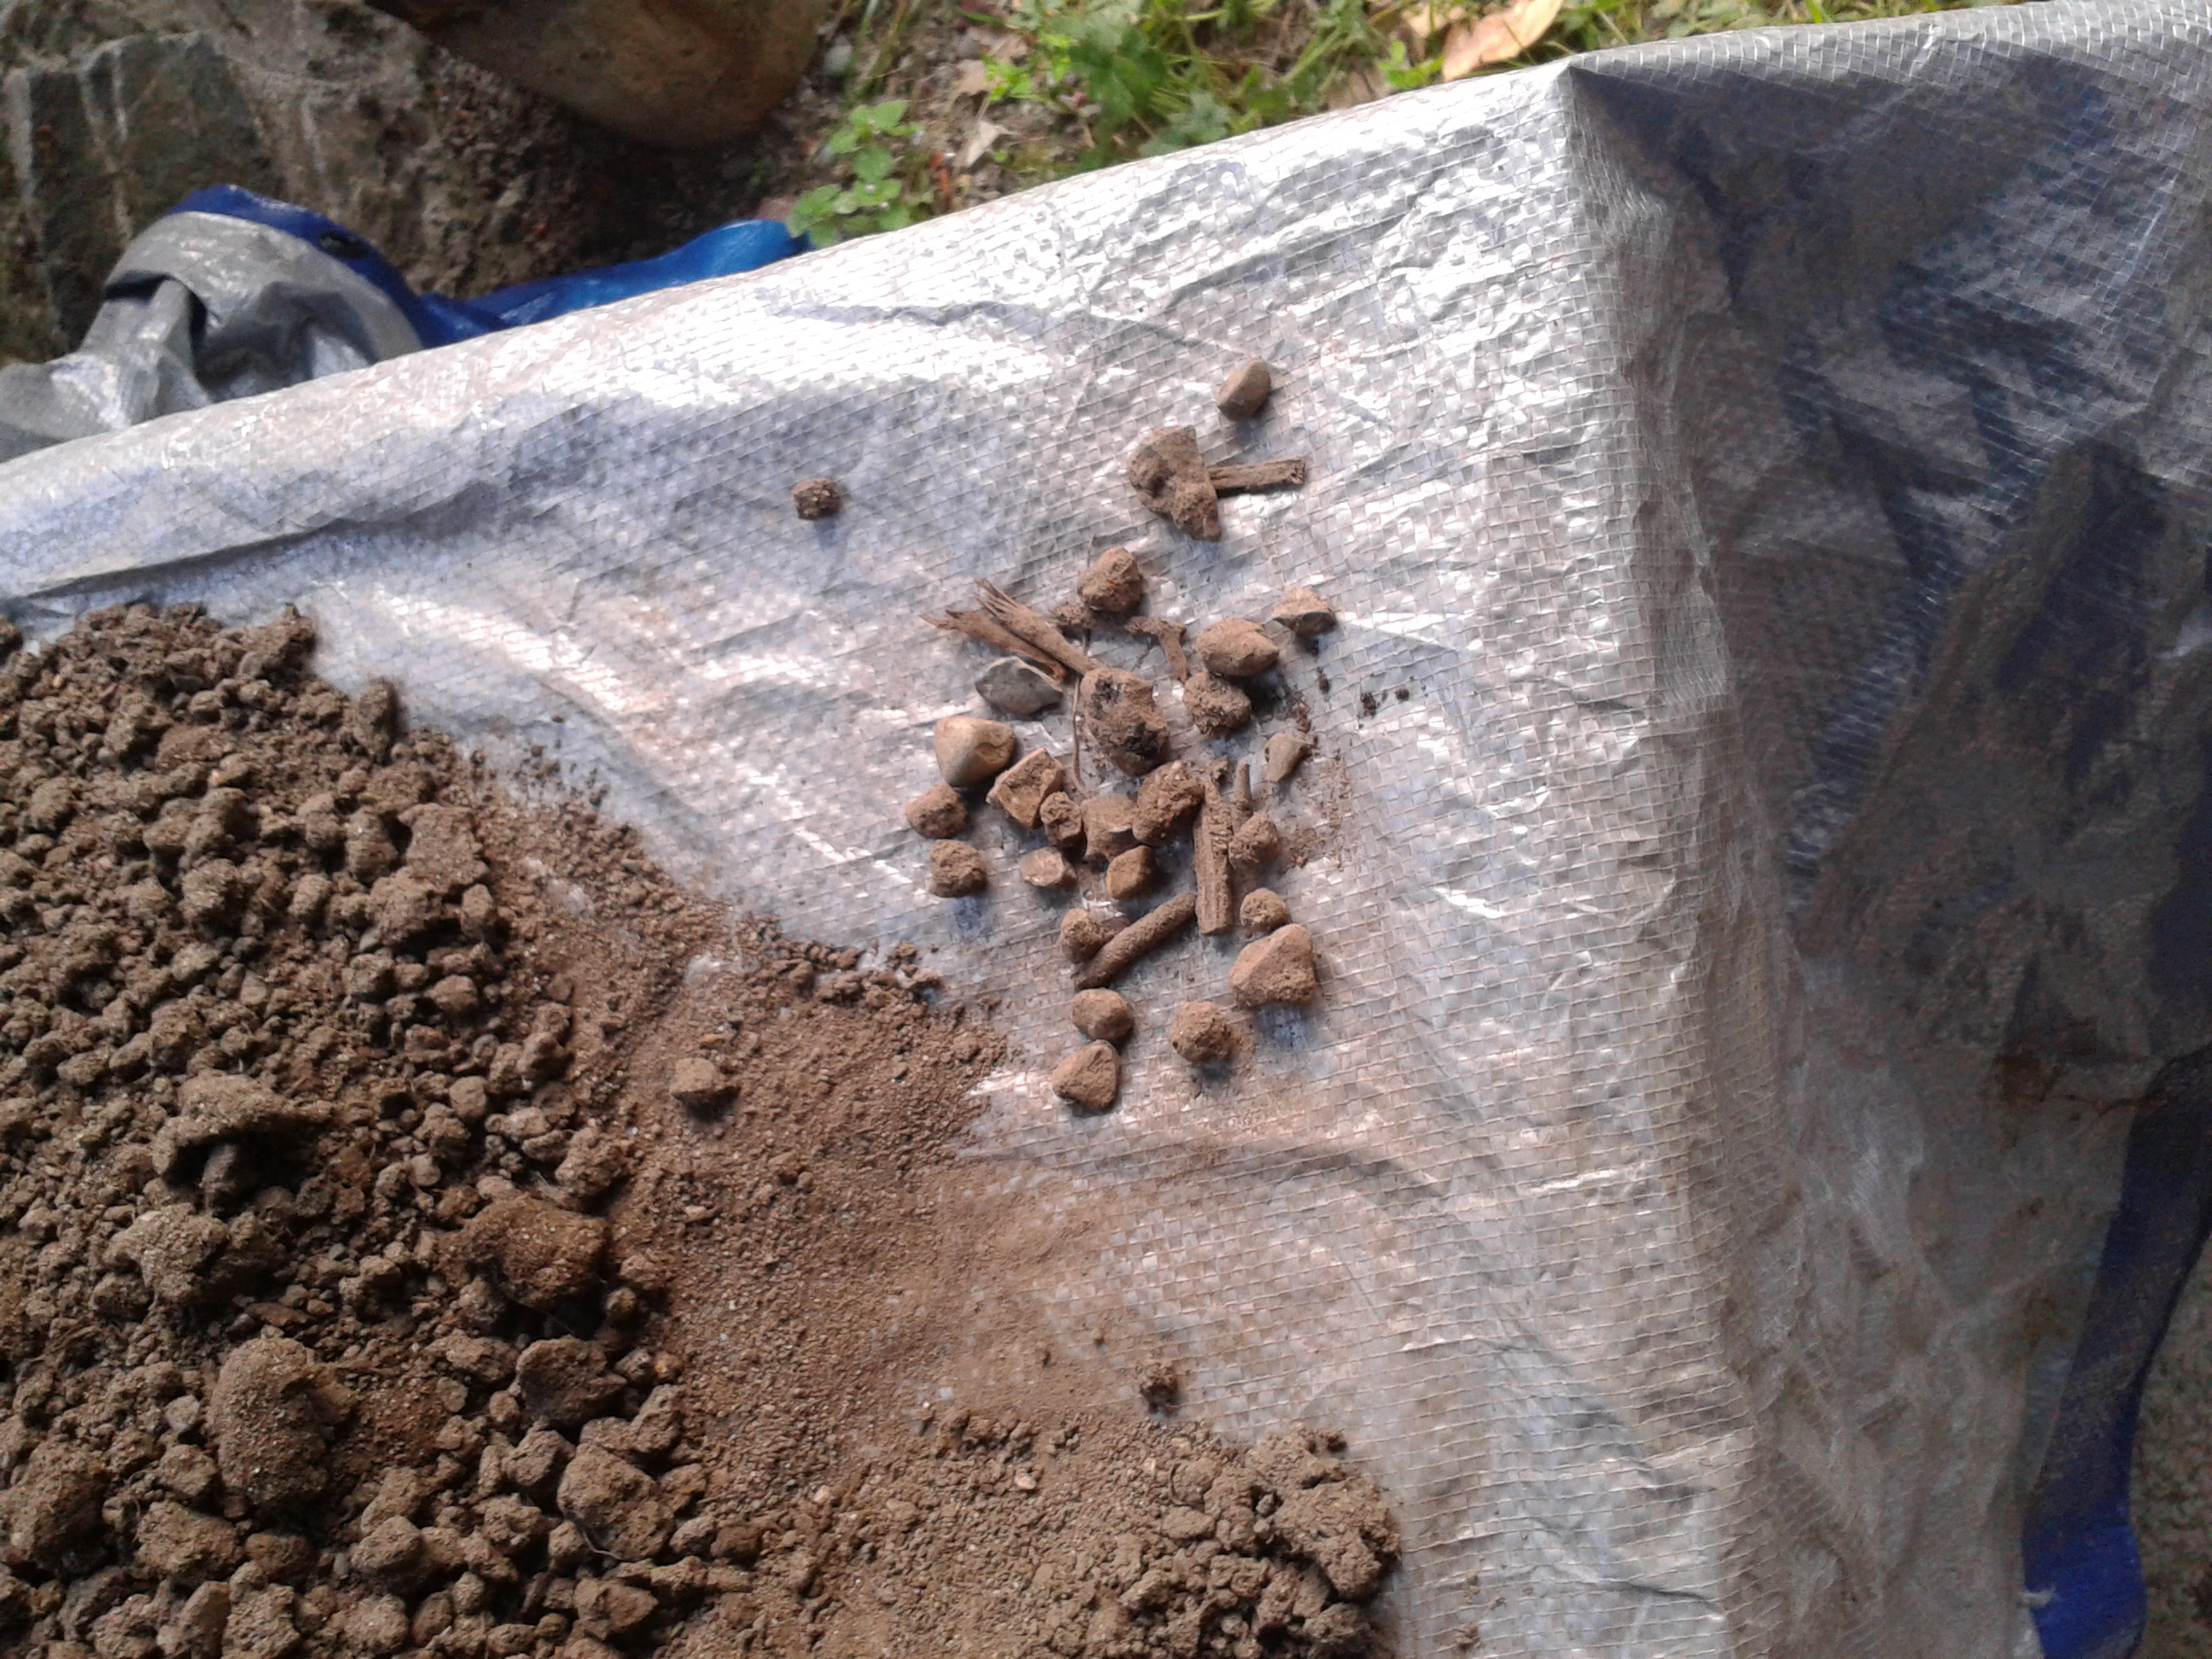
I started by buying a bucketful of dirt from a landscaping place that is conveniently just down the road from where I moved to. In this picture you can see the rocks and twigs that need to be seperated out from the finished product.
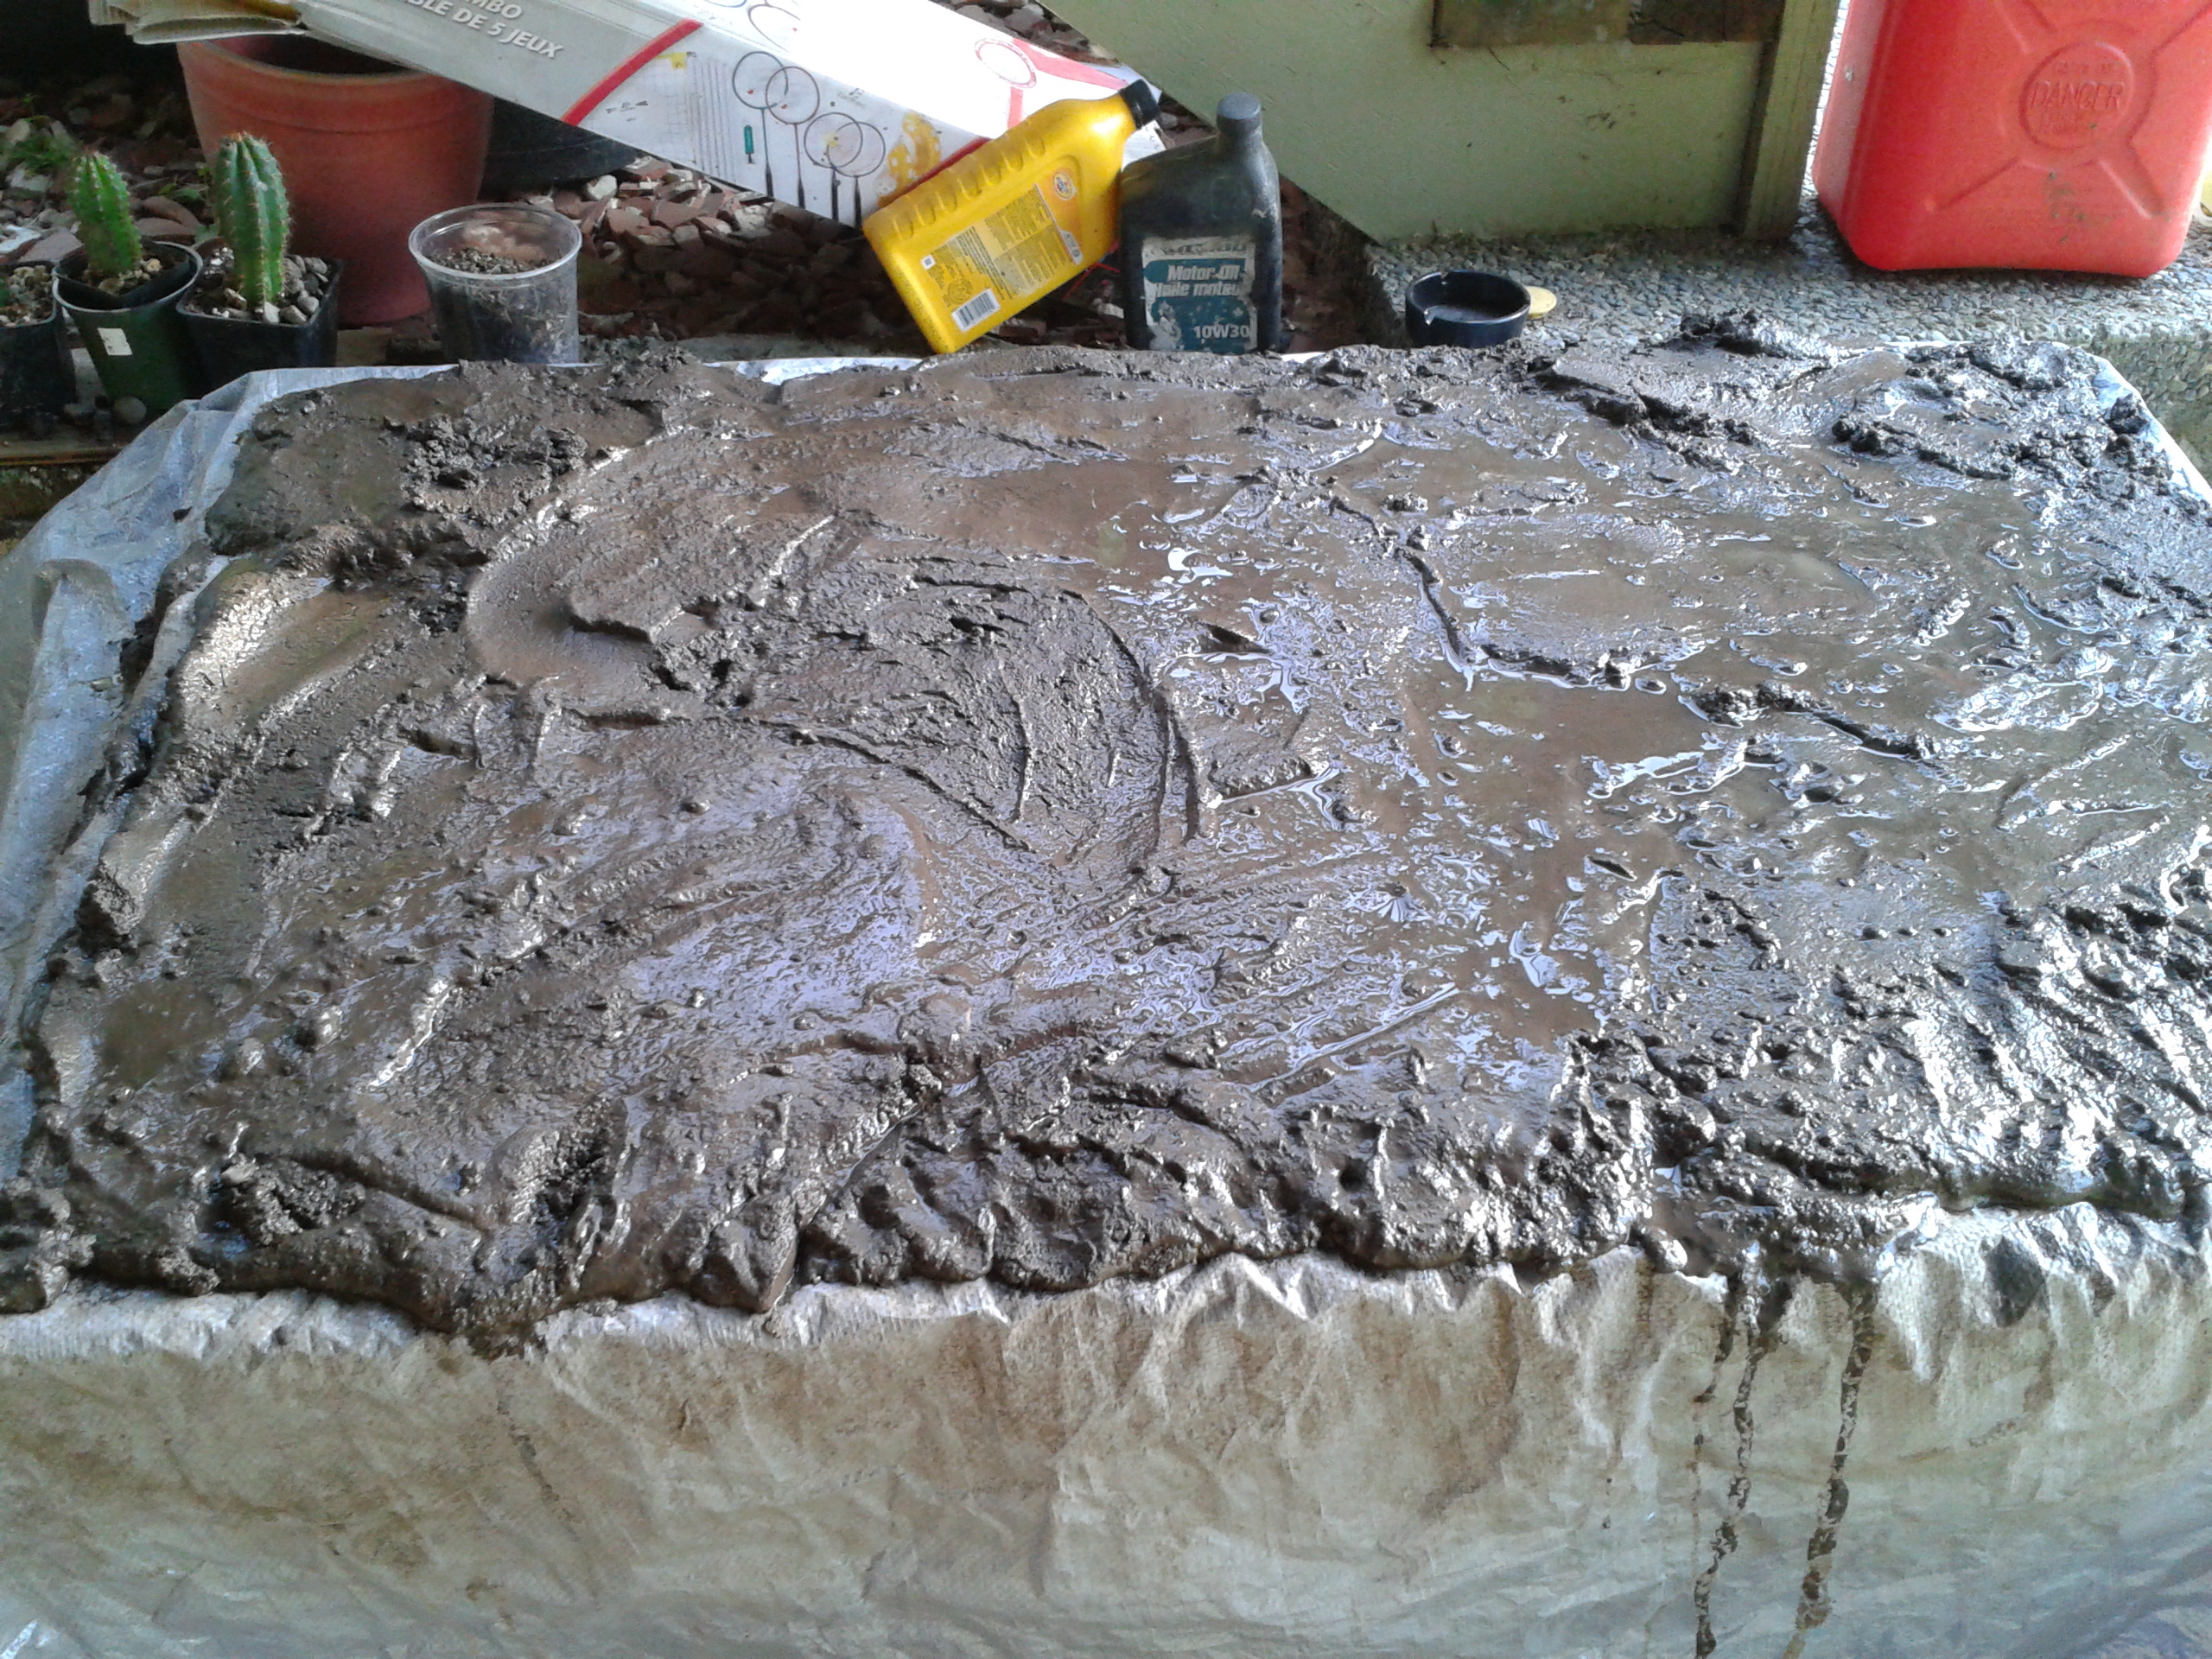
The dirt gets soaked in a bucket and the excess water is drained off. Here it is spread out on a tarp for the aerobic bacteria to break down organic compounds. Each time I spread it out to dry I would break it up and flip over clods to speed it up.
It's some exciting mud, boy I tell you!
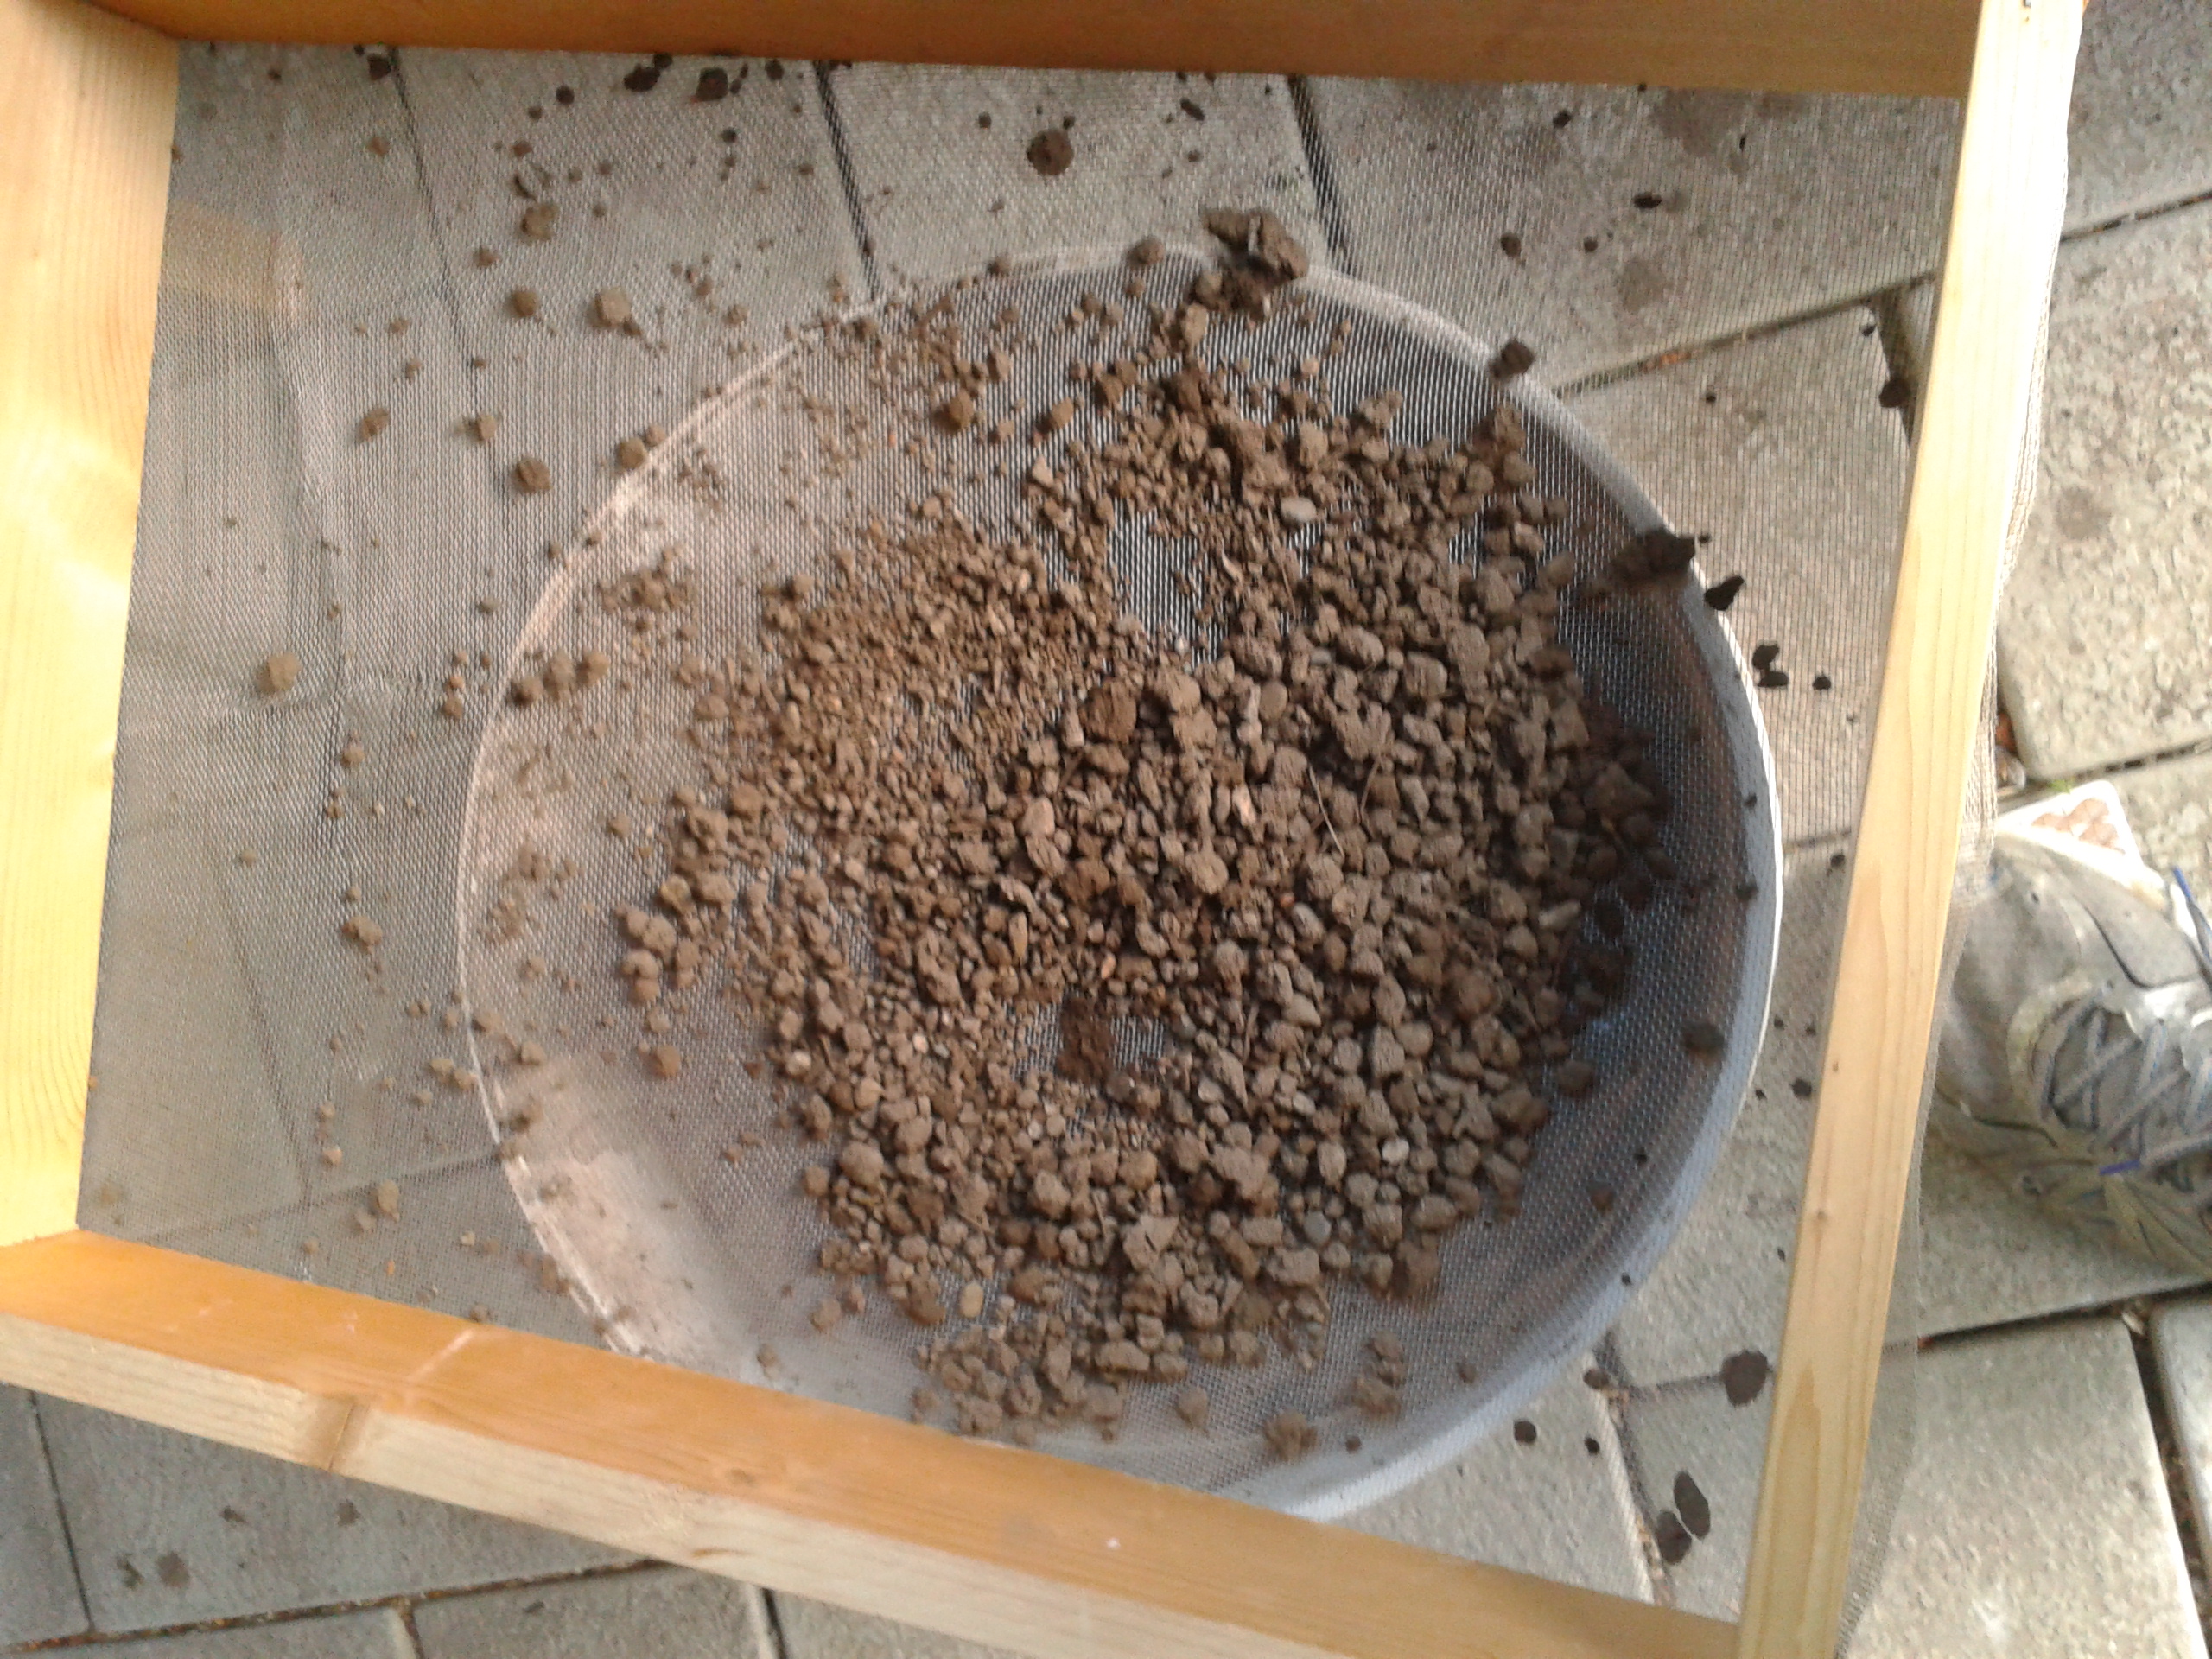
Each time it got dry enough, I sifted it through a screen I made by stapling a patio door screen onto a wood frame. My parents had that stuff lying around in their shed, so that helped keep this project cheap.
I was a little surprised at how nice the gravel that got sifted out was. It was nice quartz gravel just like from an aquarium shop, so it was incorporated into the gravel cap.
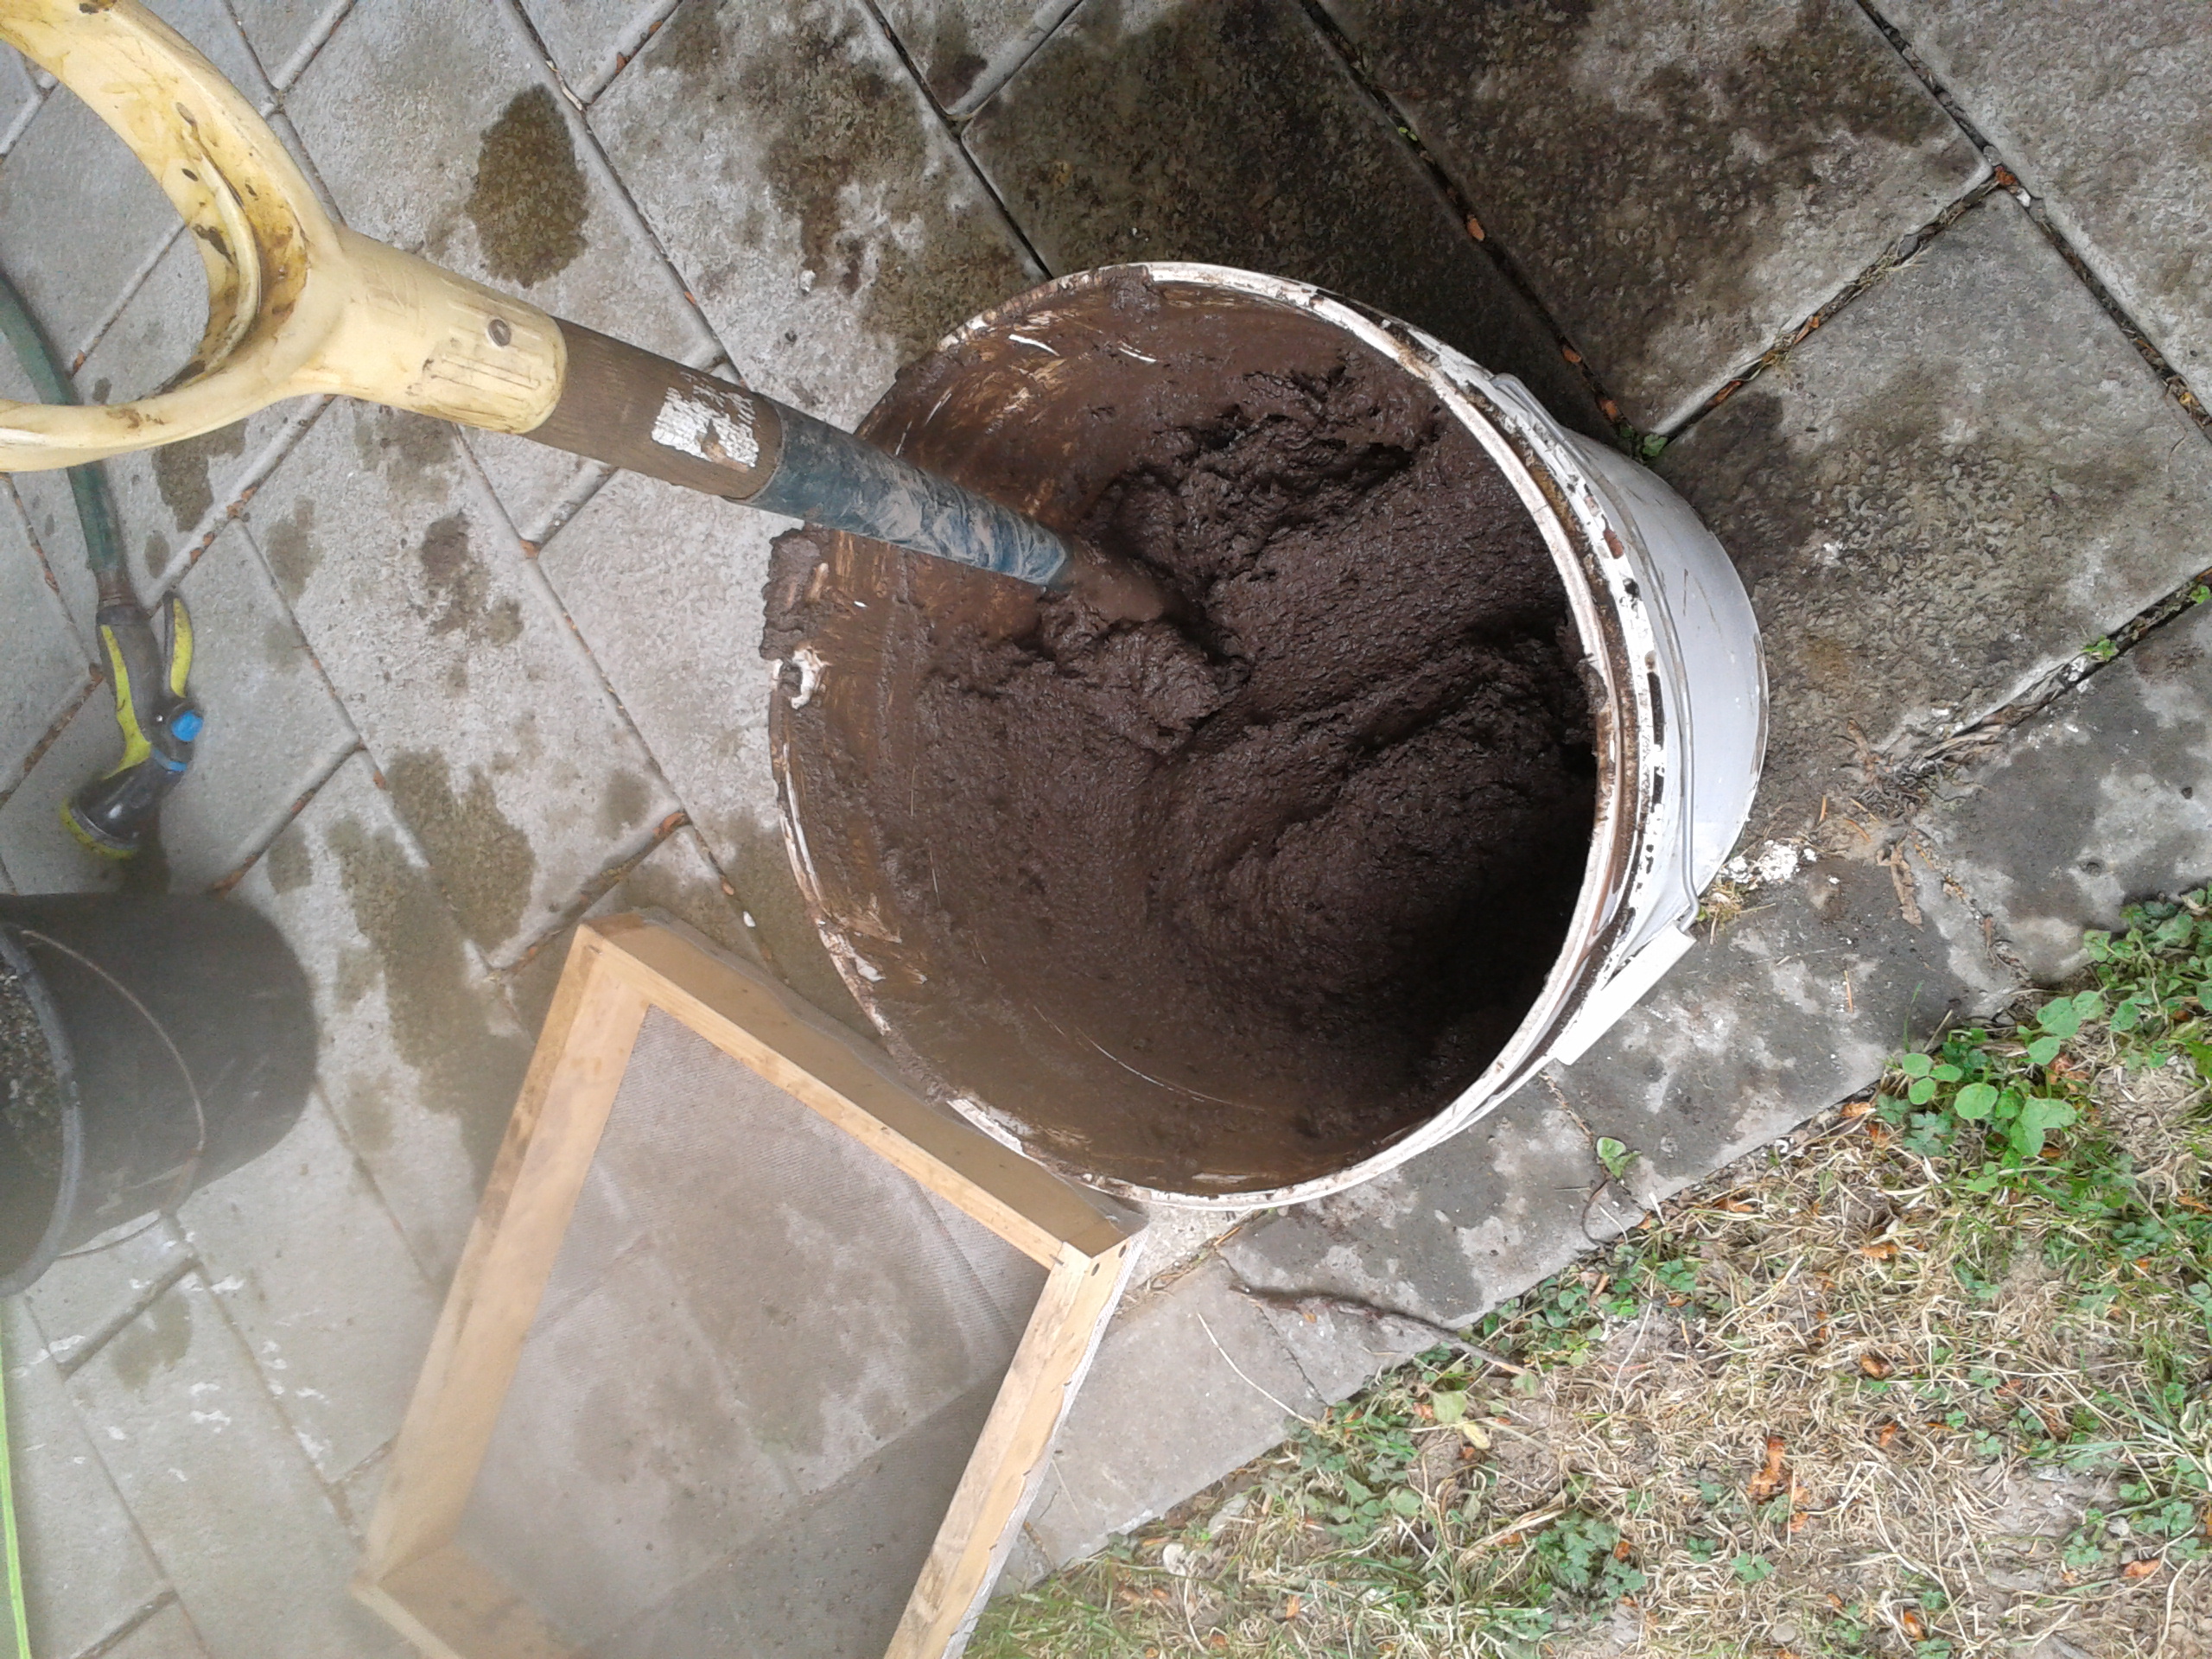
After a few iterations of soaking, drying and sifting, you can see that the soil is sandy and grainy in consistency. It's a significant difference from organic rich mud that you get at the start. In this picture the iron rich terracotta clay has been mixed in. It's ready for the aquarium!
I don't use this bucket to brew beer anymore.
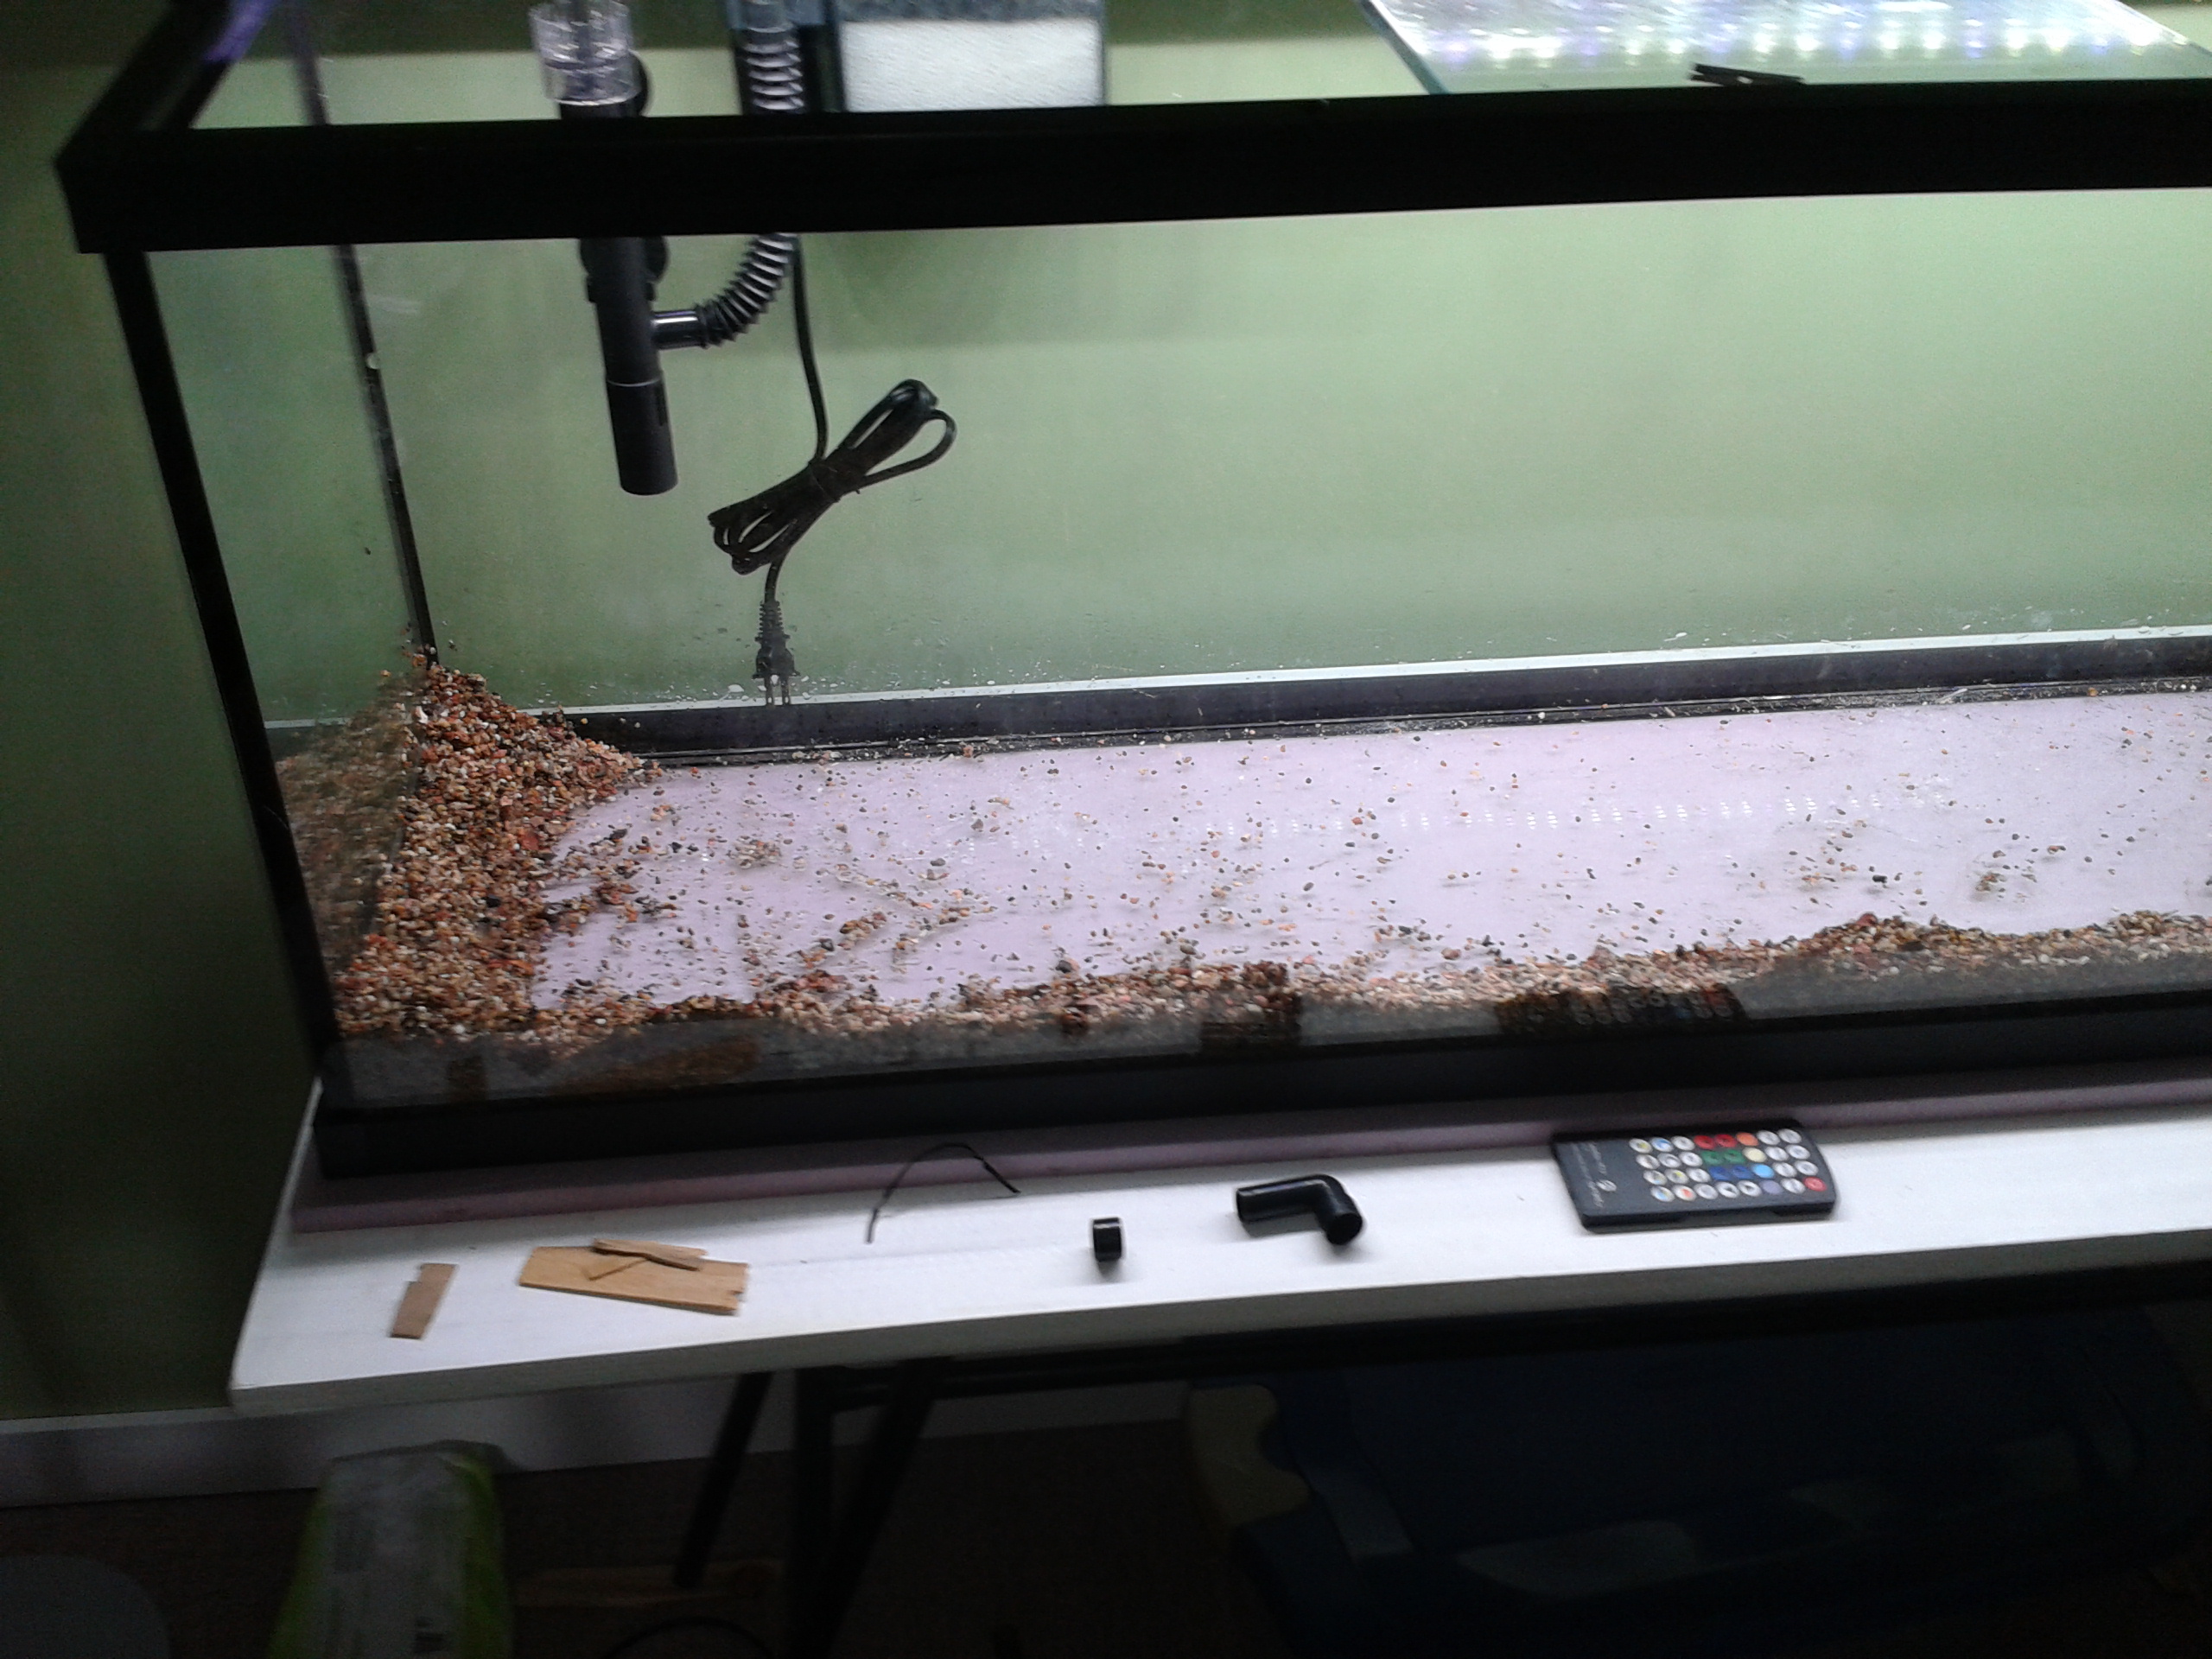 A cosmedic barrier of gravel is put down along the front and sides so the mud doesn't show.
 The mineralized topsoil is placed down. At this point it's about the consistency of thick cake batter.
 Gravel completely covering the mud.
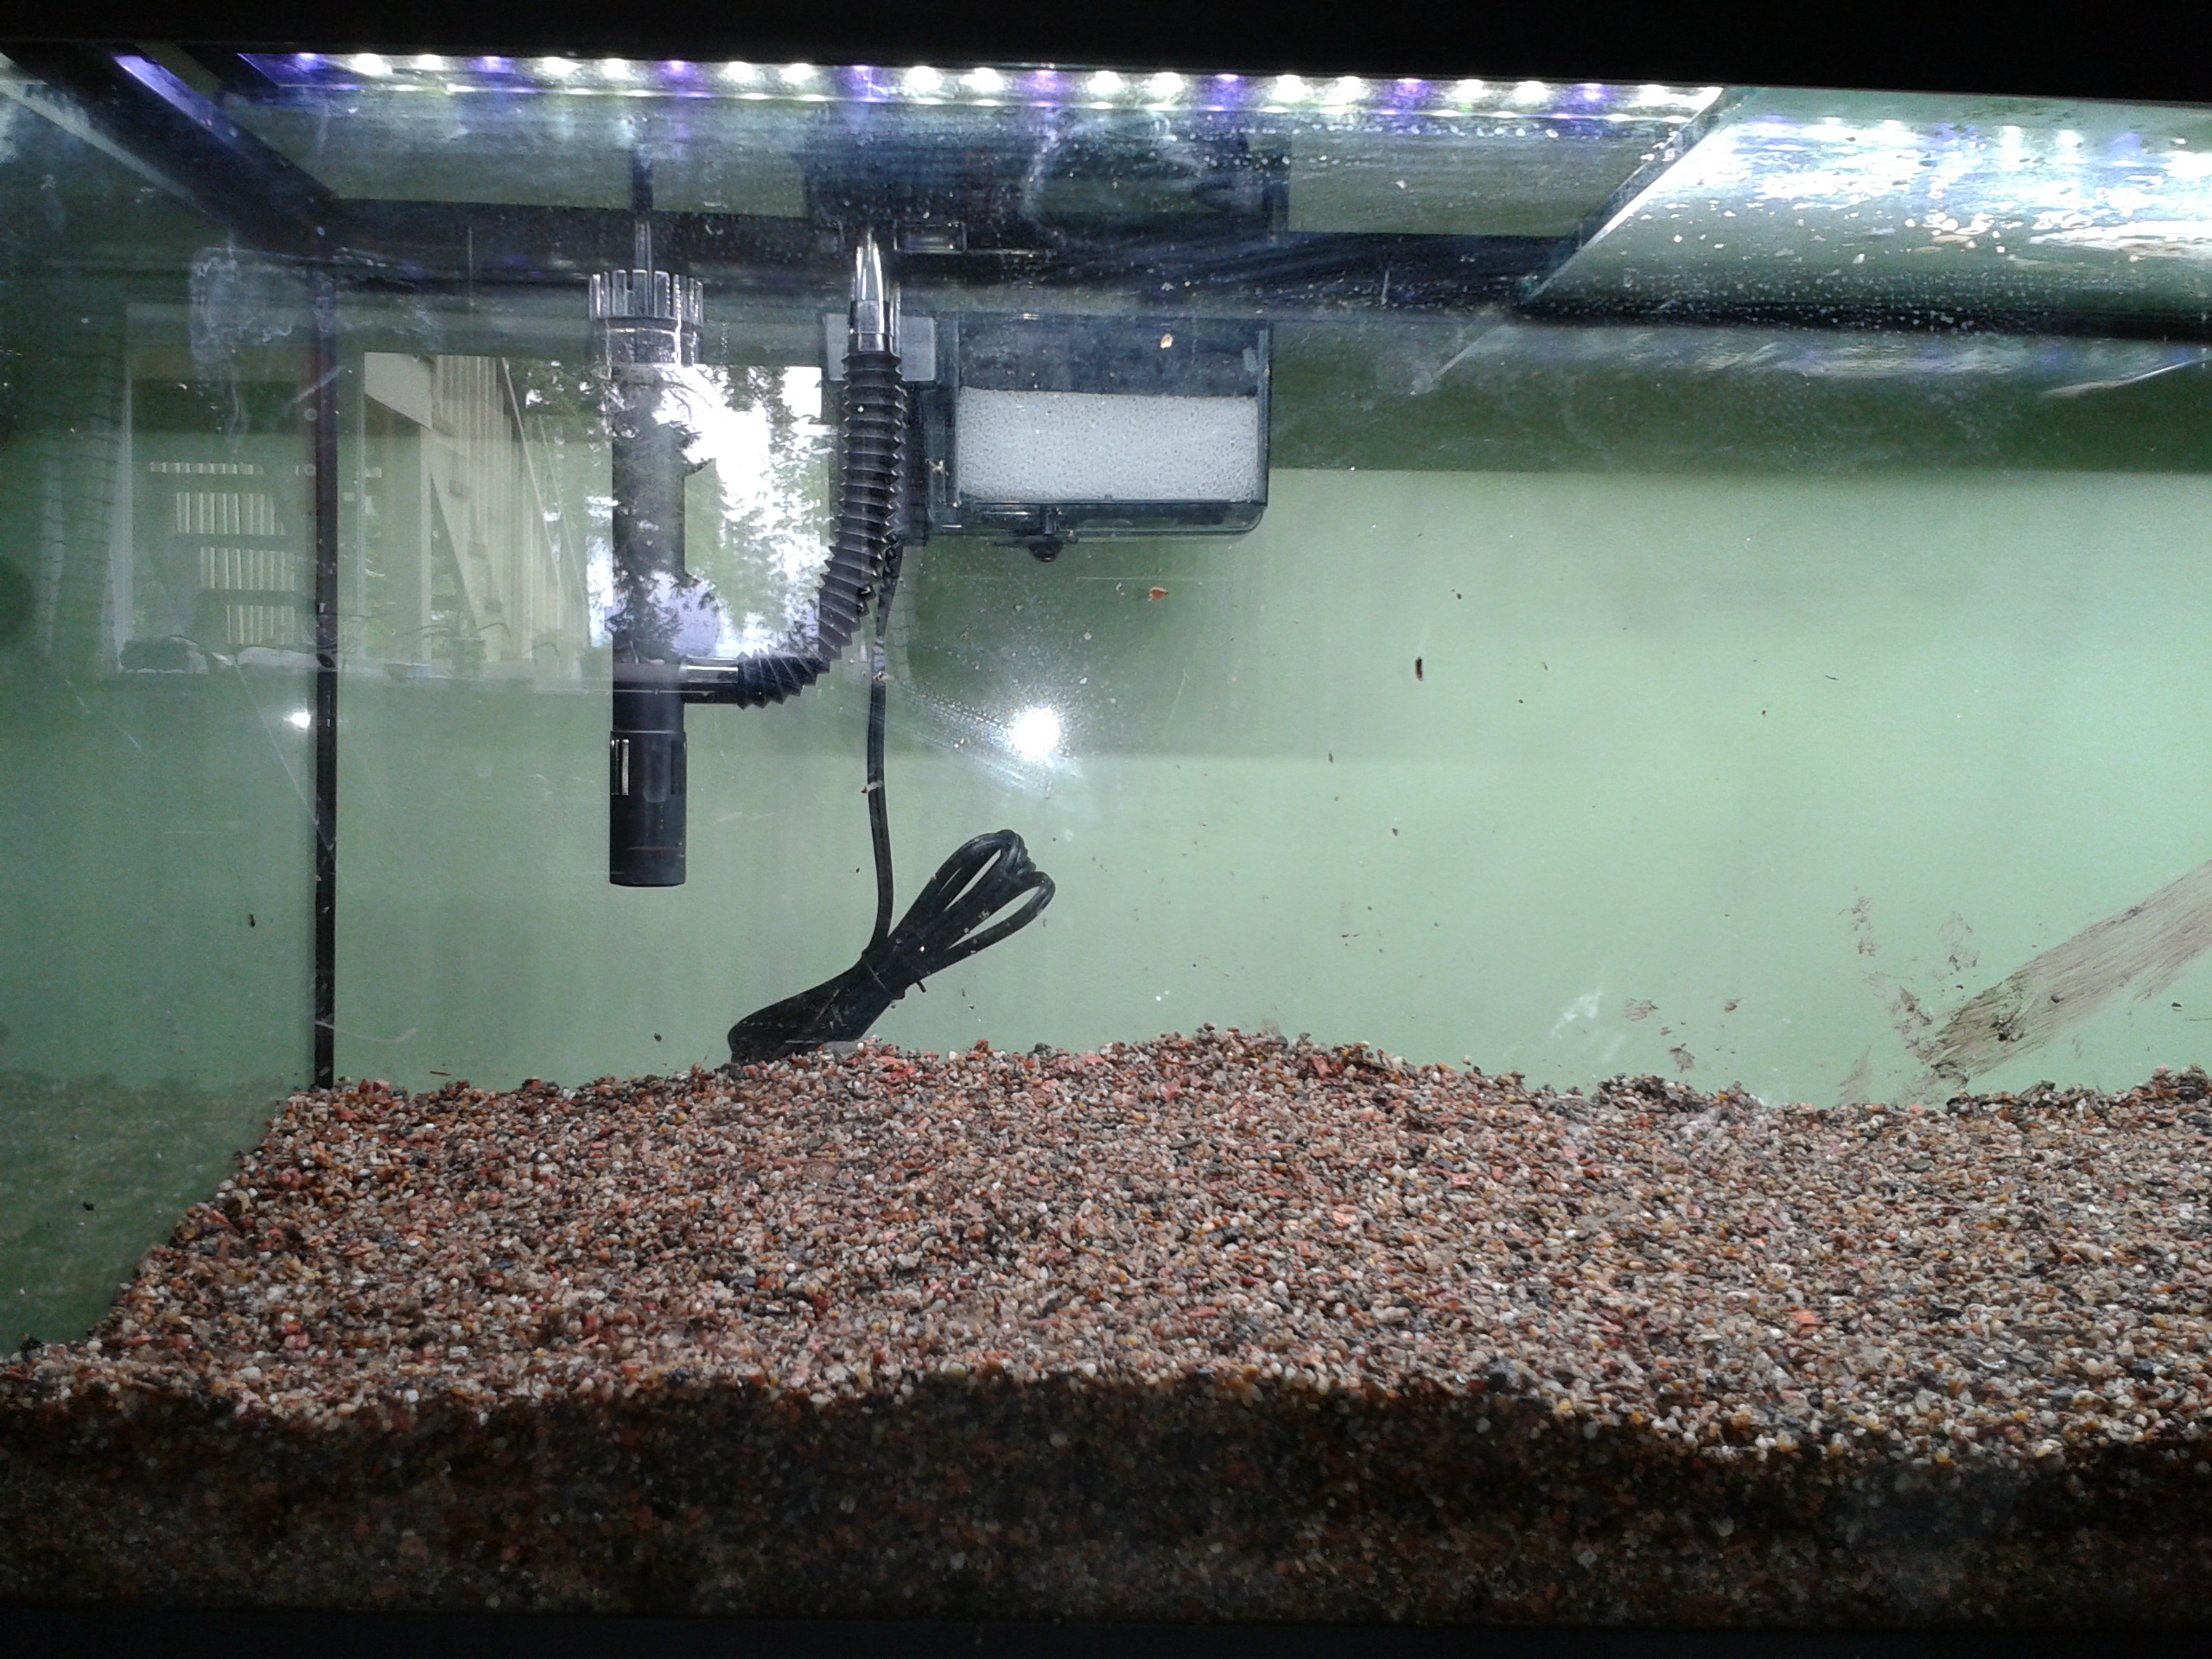 All done. I tried to make it a bit slopey and undulate for visual interest.
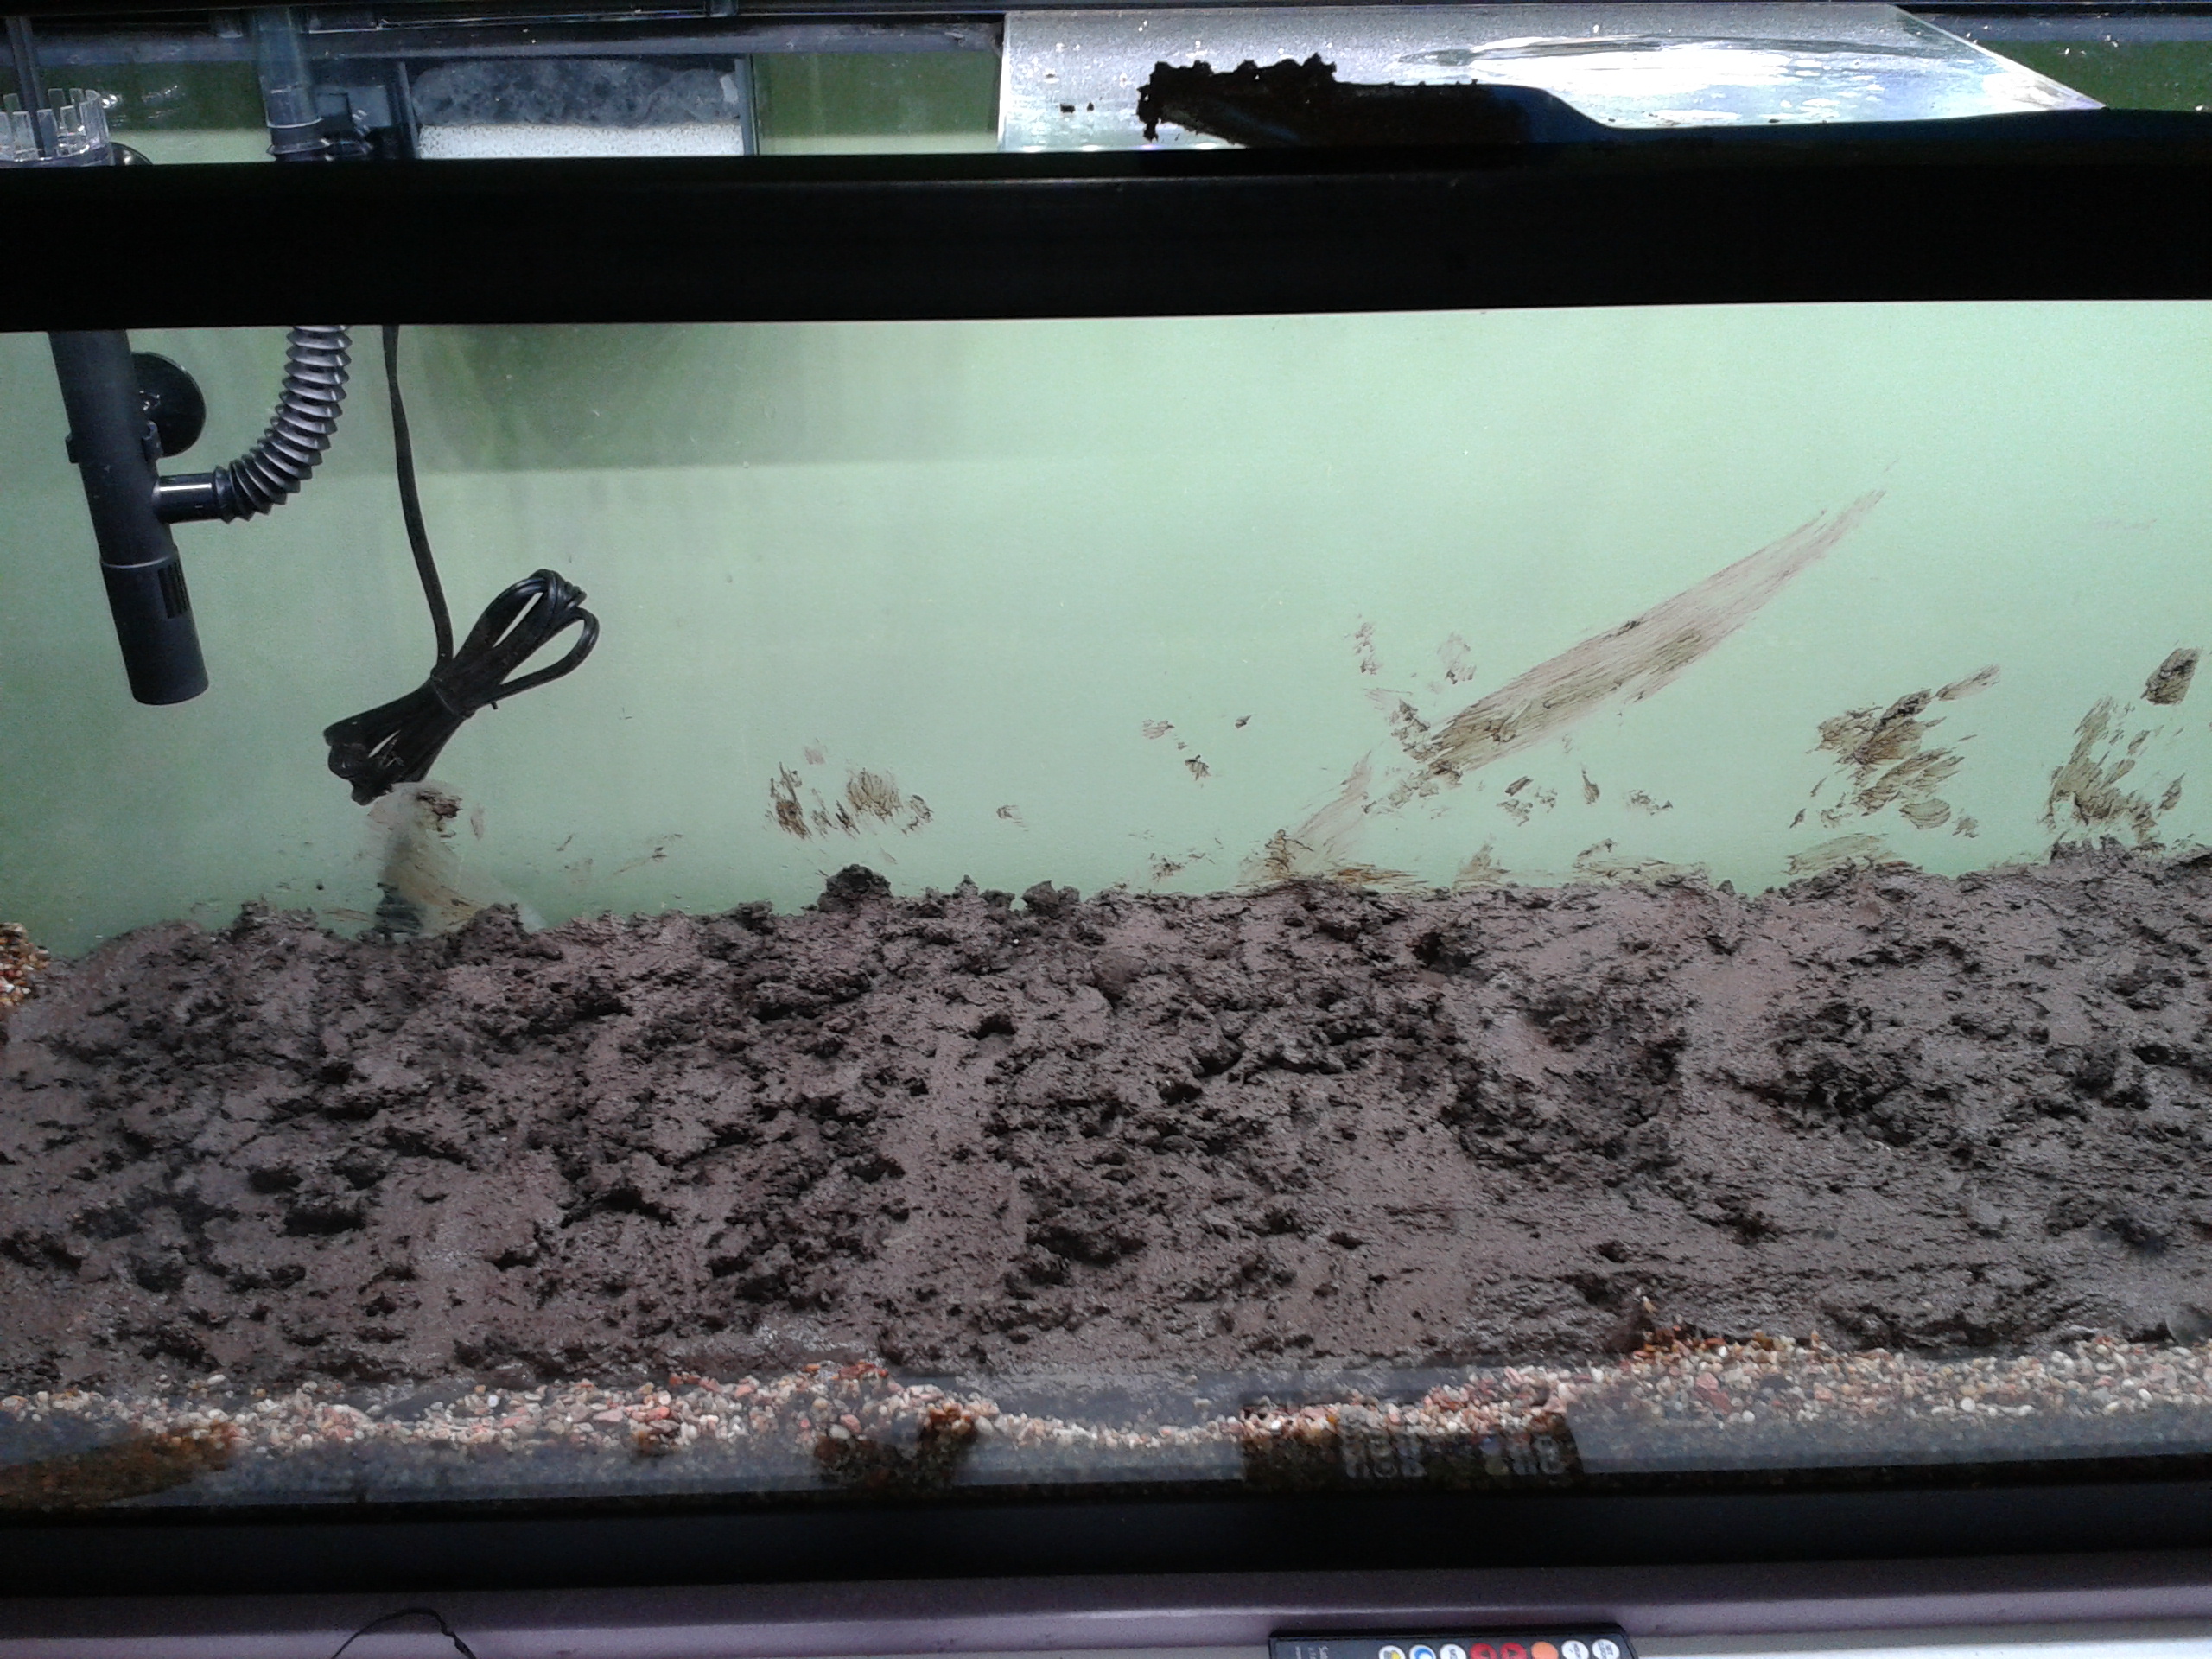
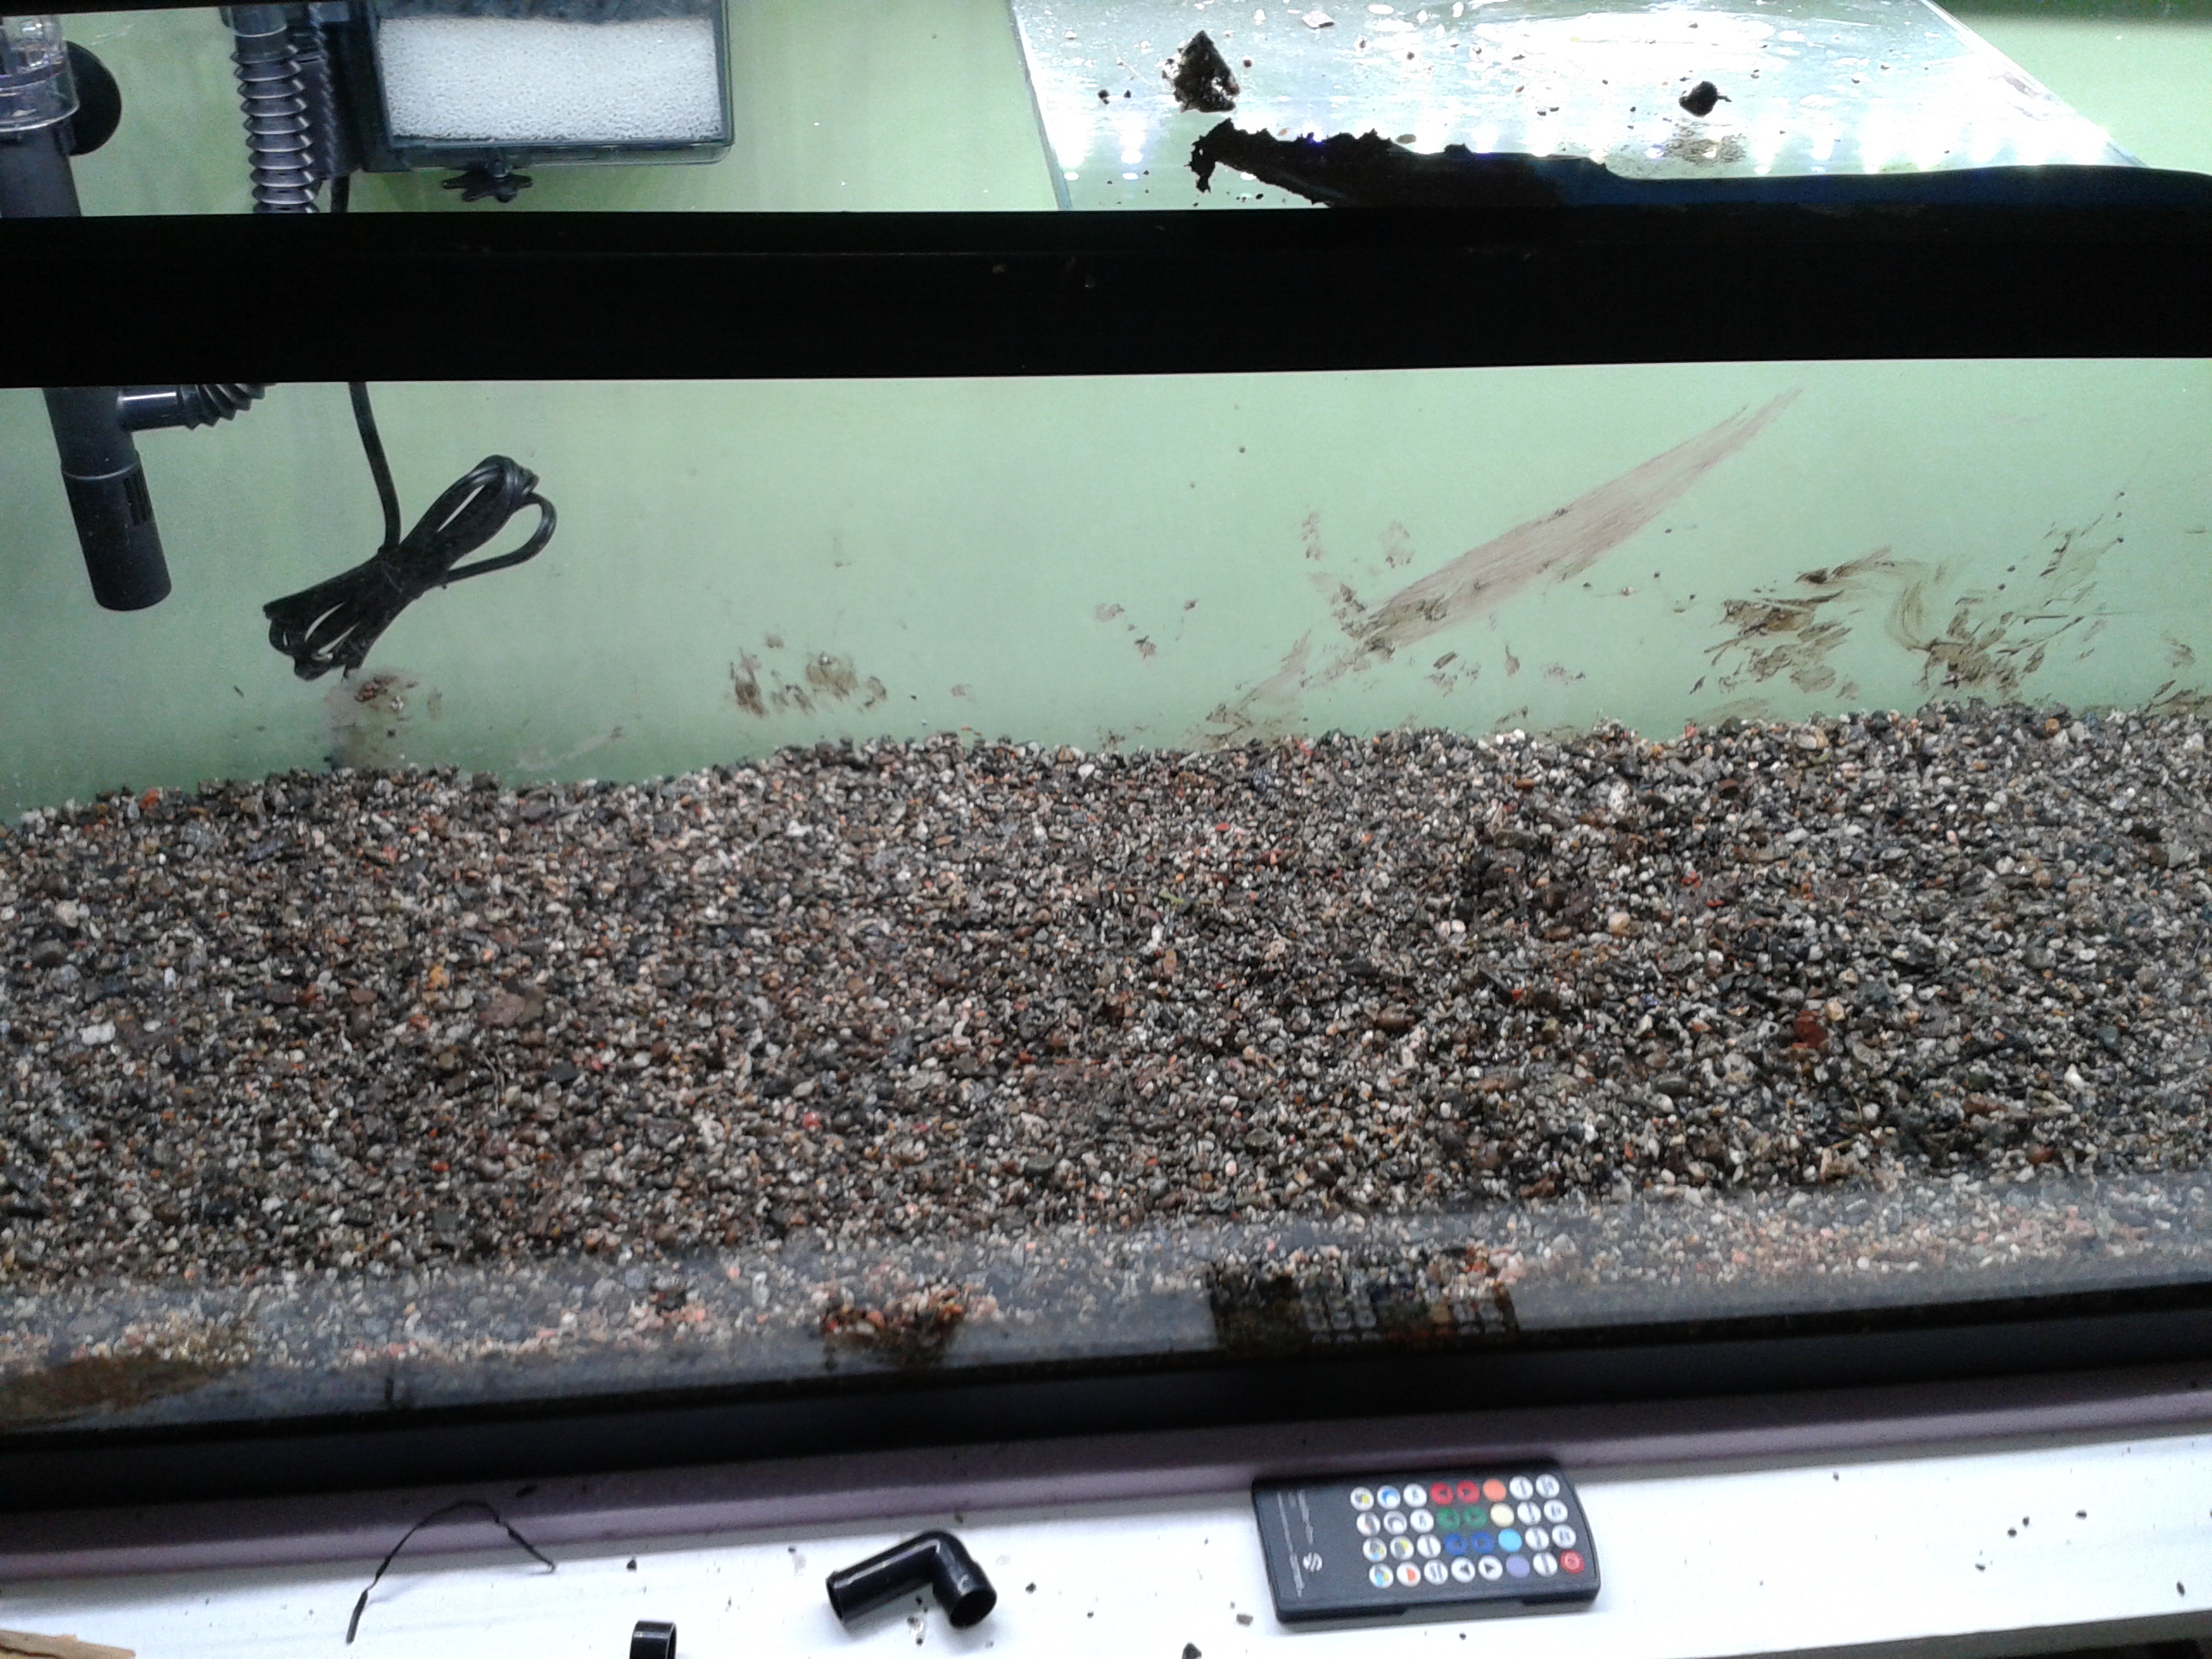
 I filled the tank slowly to not kick up the sediment. I think it's actually the least cloudy of an initial fill
that I have had setting up a tank.
I filled the tank slowly to not kick up the sediment. I think it's actually the least cloudy of an initial fill
that I have had setting up a tank.
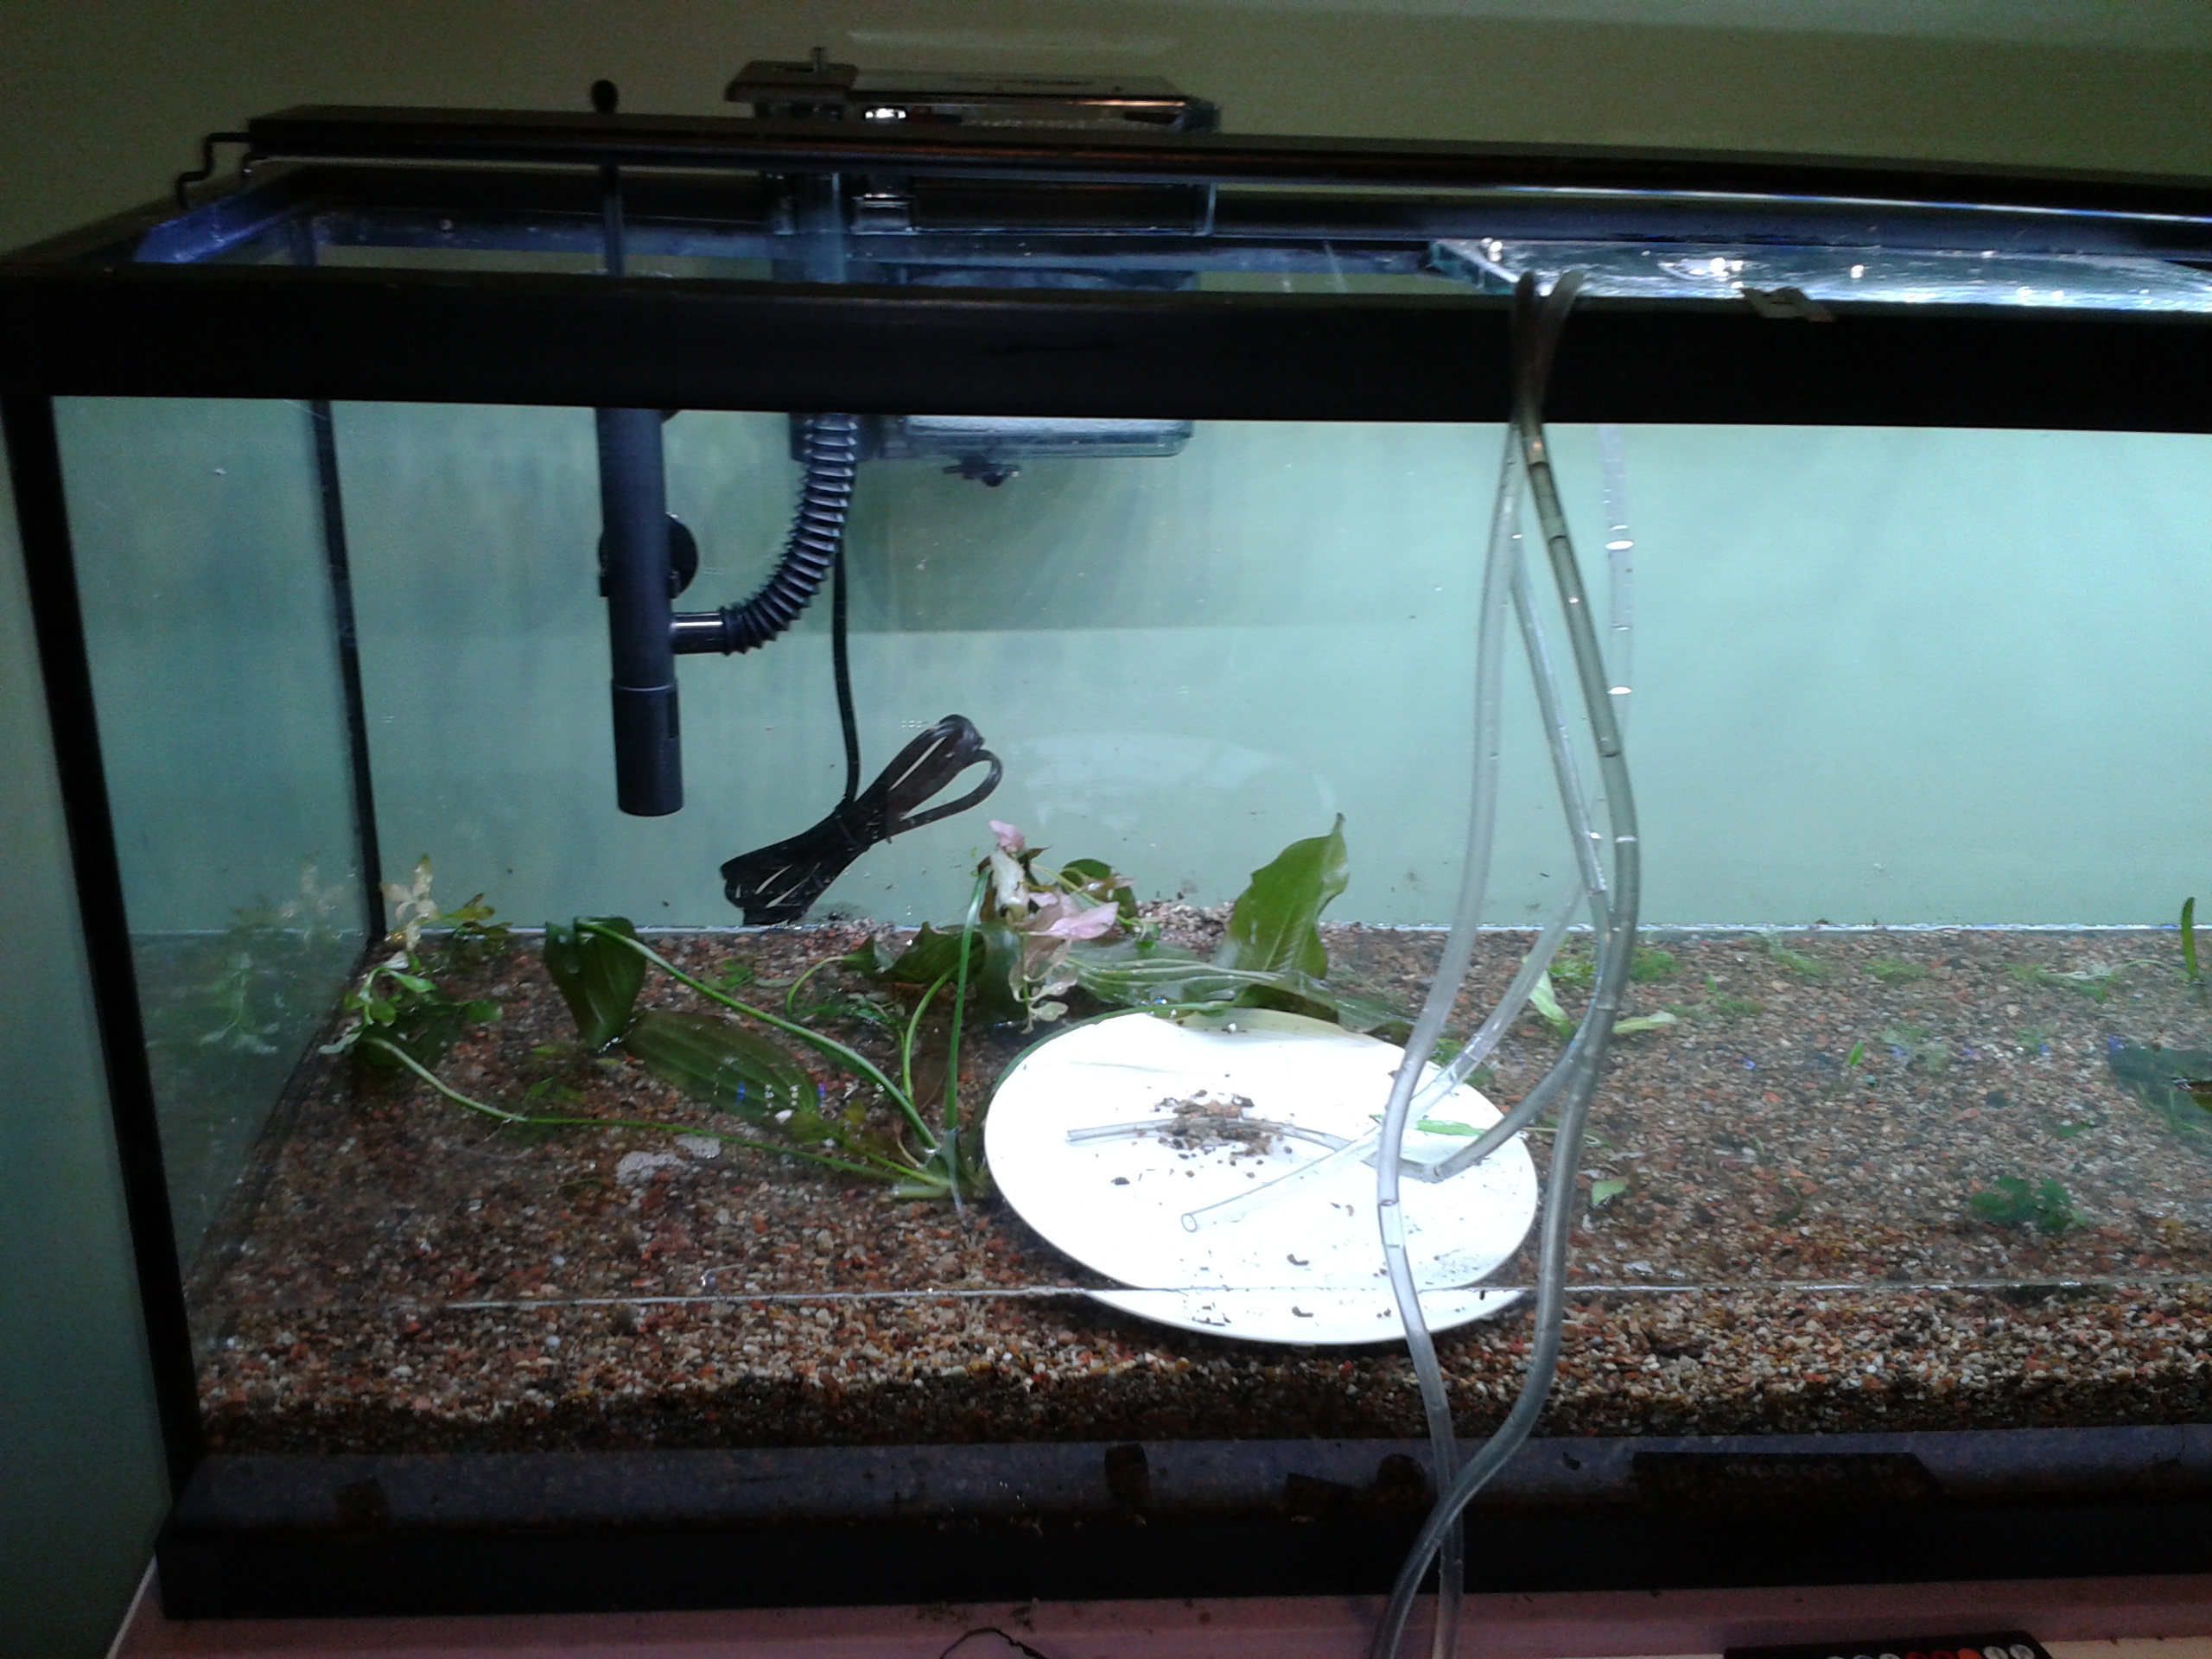
 Here it is right after filling is complete. I like to plant a tank with just a tiny bit of water in the bottom as
it's easier to keep things tidy this way.
Here it is right after filling is complete. I like to plant a tank with just a tiny bit of water in the bottom as
it's easier to keep things tidy this way.
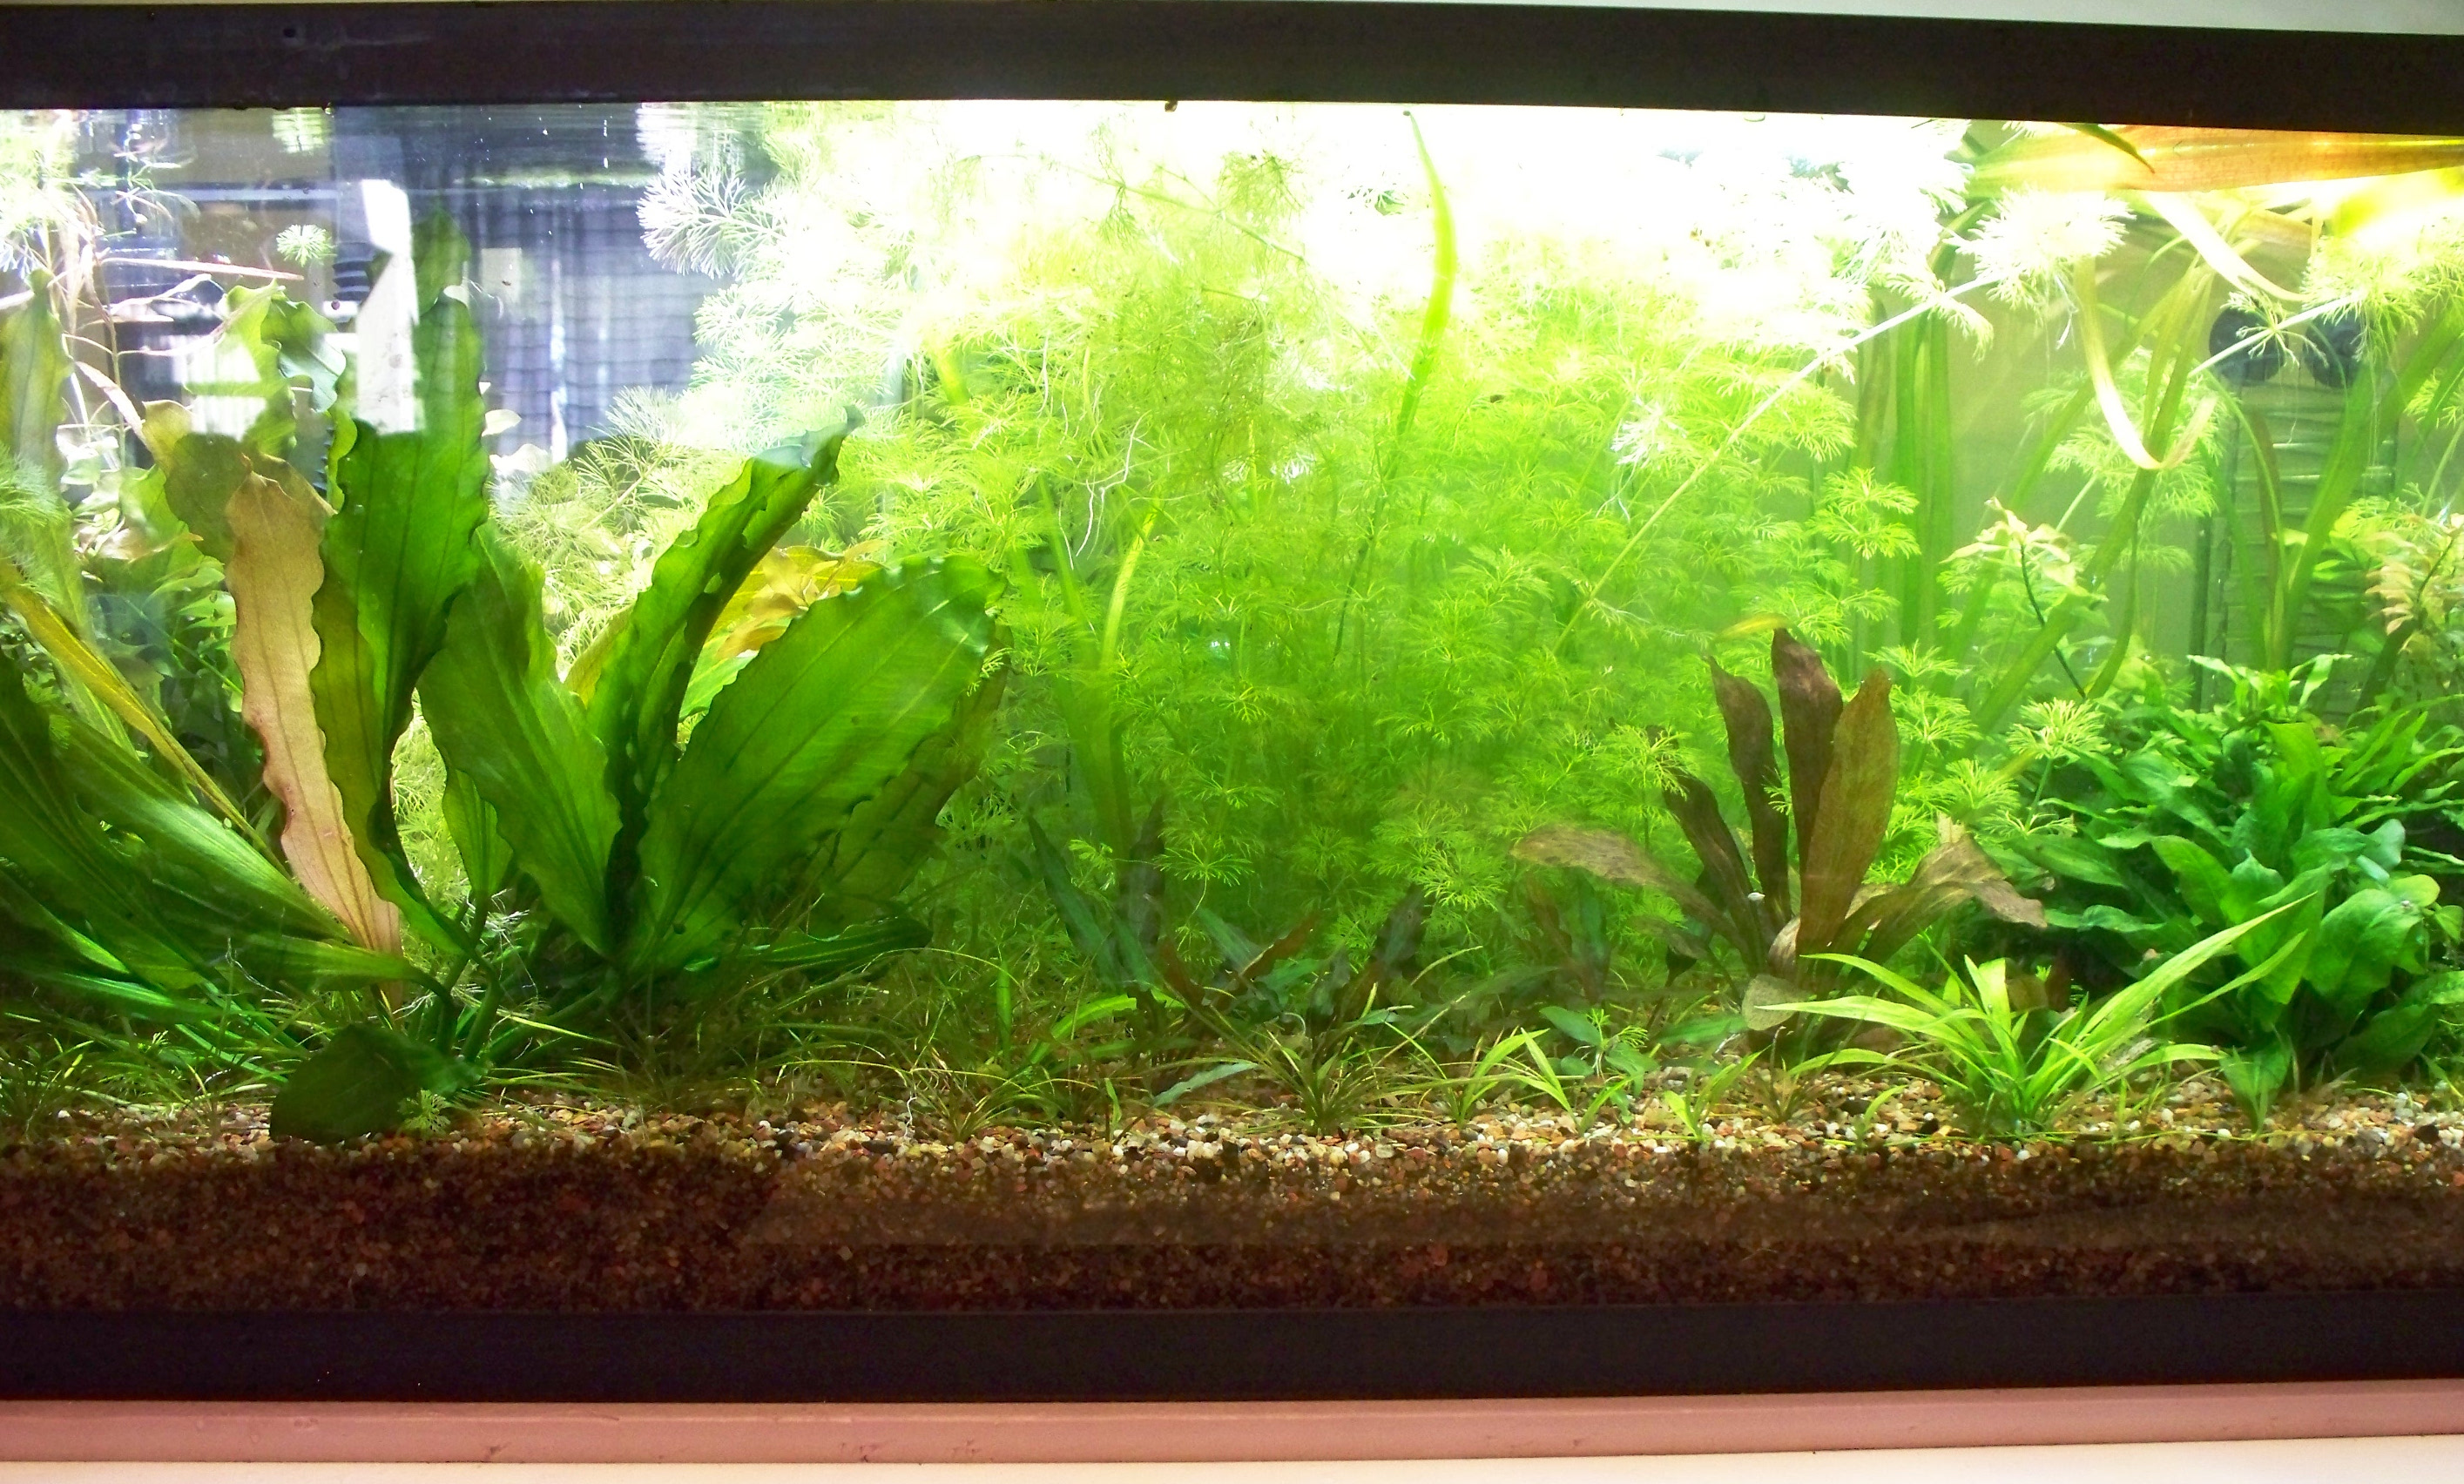
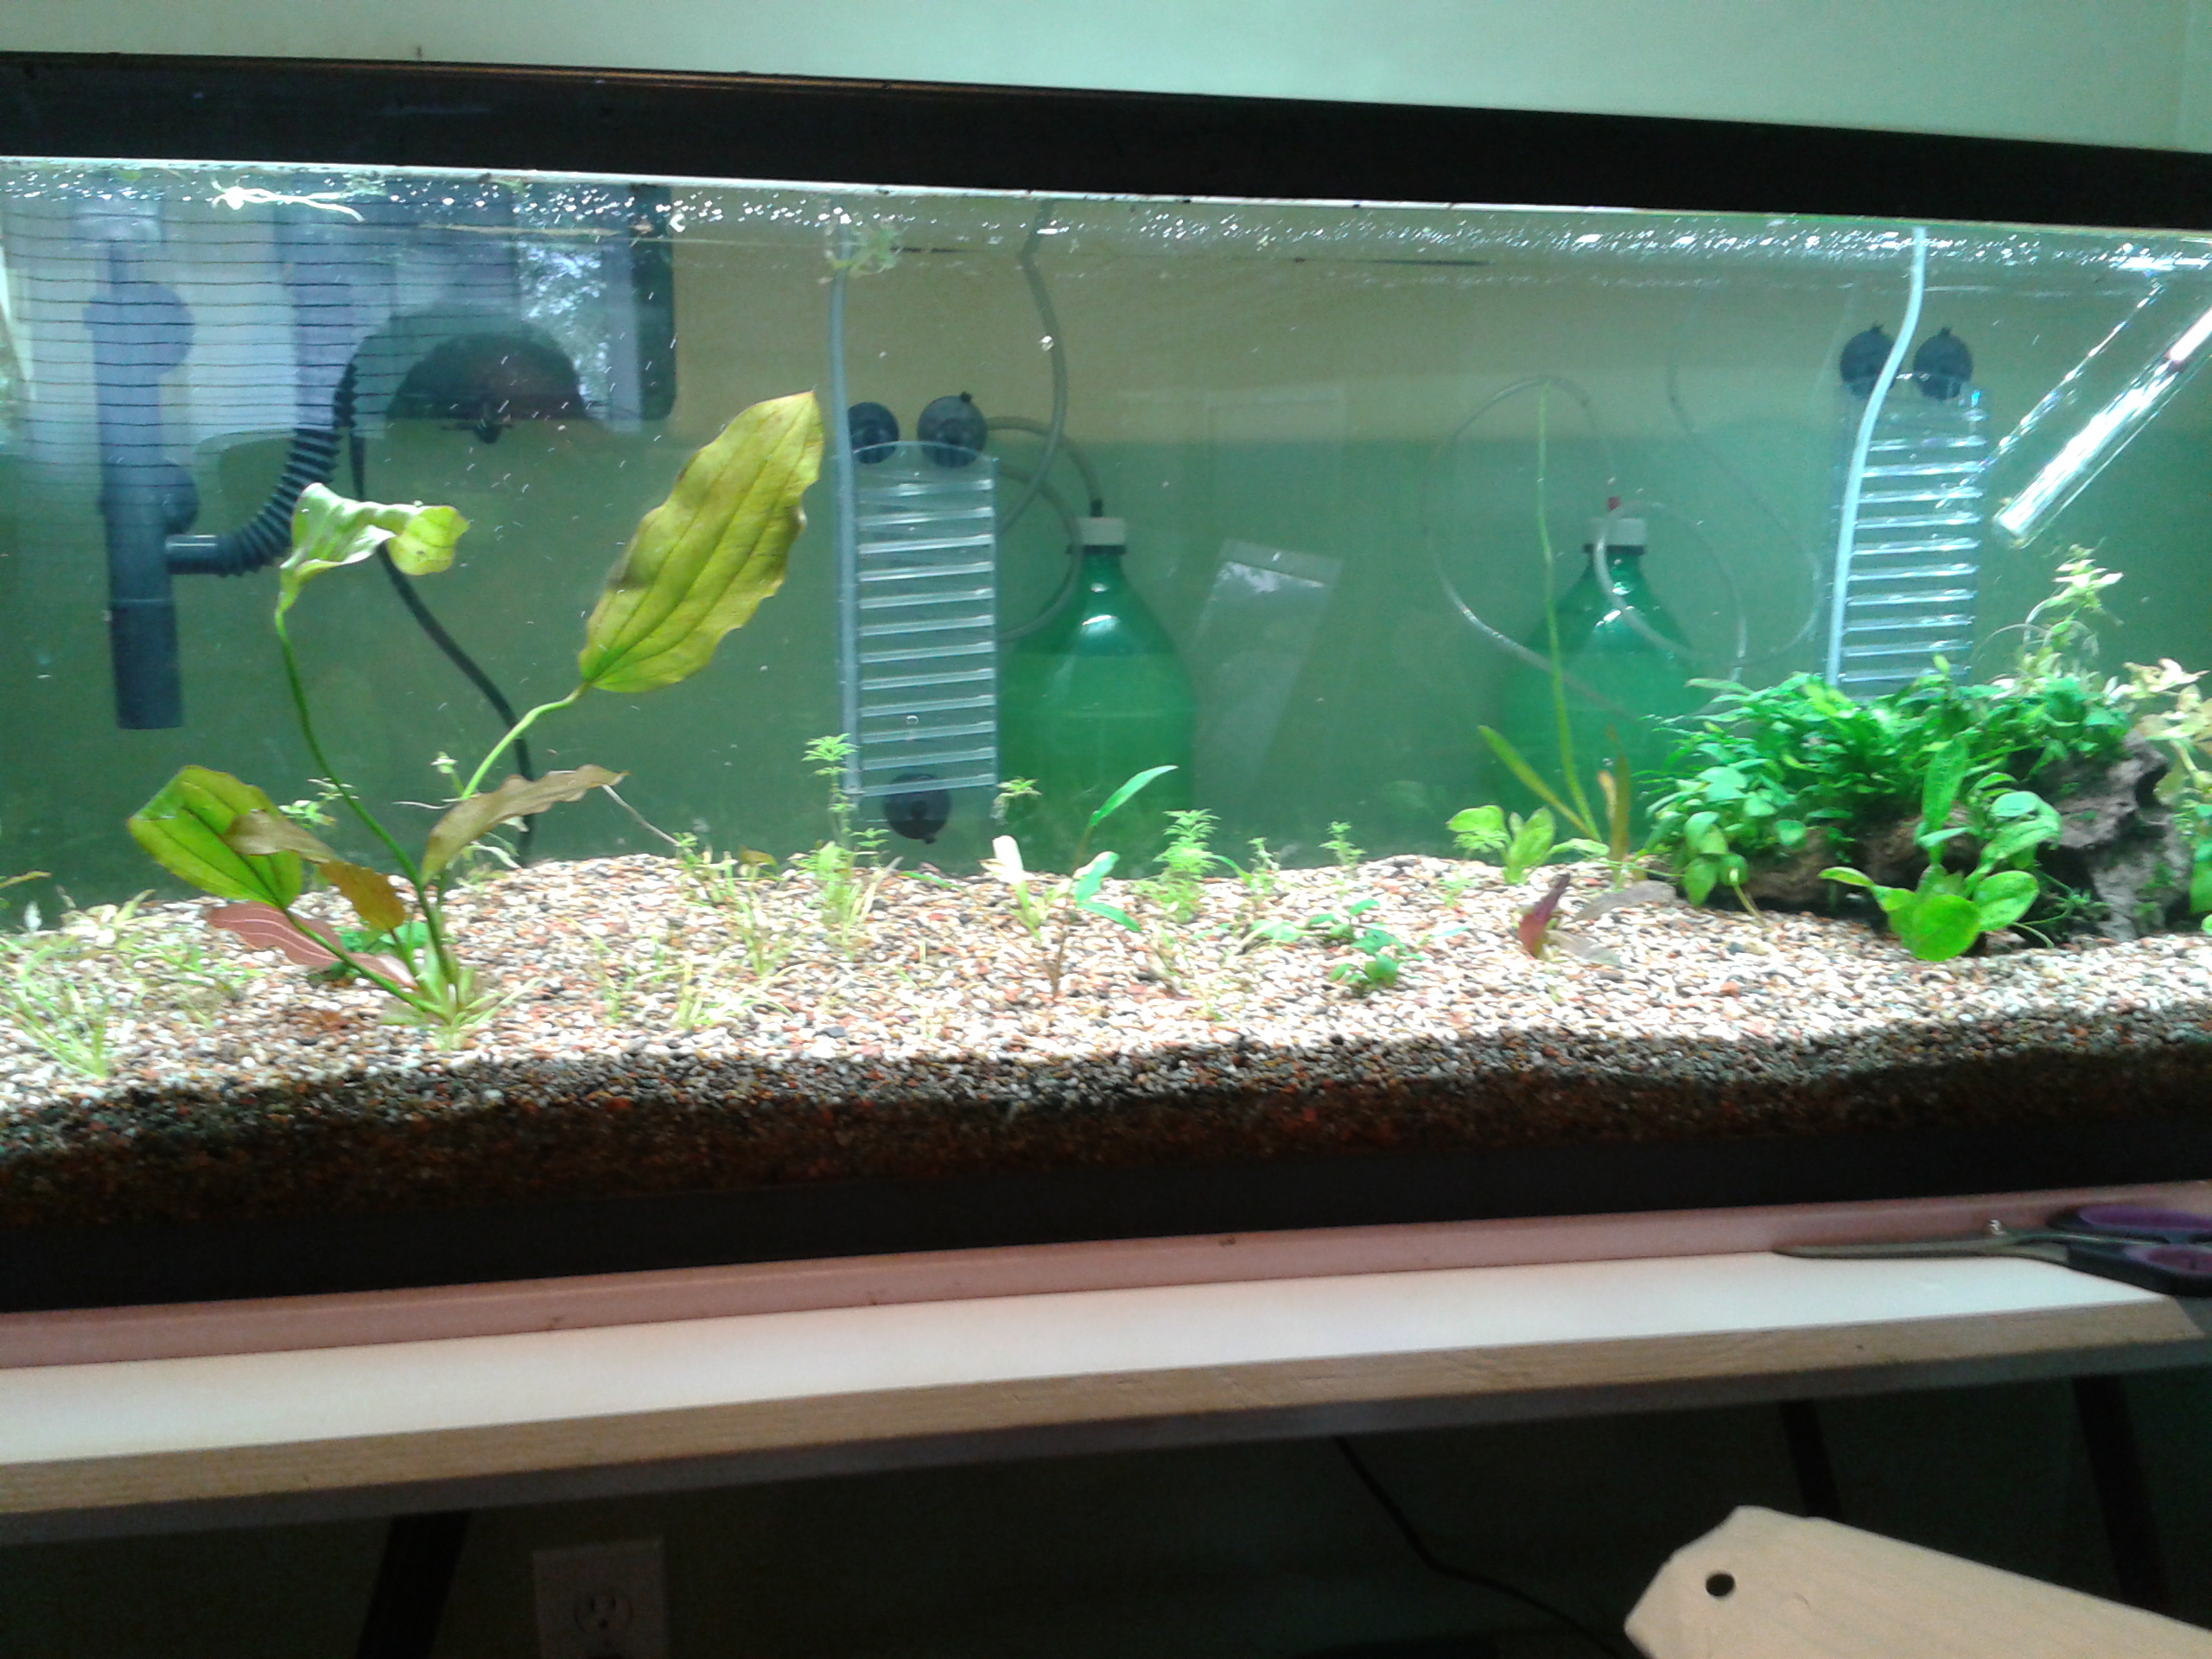
Below is the aquarium after three or four months of setup. As you can see, plants love mineralized topsoil! At the time of writing this, the tank has been up for a little under a year, and it's still going great. The cryptocorynes you can see in the centre have flourished and propagated to the front of the tank, but were starting to show signs of potassium difficiency, so I supplemented with root tabs. Maybe skipping the potash wasn't a good idea, but the potassium difficiency was addressed. Naturally, the faster growing plants have to be trimmed out regularly.